
How to Organize a Home Theater: Layout, Equipment and Cables
An organized home theater should be comfortable, easy to operate, and simple to maintain.
Every component needs a clear position and a practical connection route.
Organization is not limited to hiding cables. It includes seating, speaker placement, equipment ventilation, accessory storage, lighting, and control.
The best approach is to plan the room in a logical order. Begin with the screen and seats. Then position speakers, equipment, cables, and storage.
1. Create a Home Theater Equipment Inventory
List every component before moving furniture or routing cables. Include devices that may be added soon.
Your inventory may include:
- Television or projector
- Projection screen
- AV receiver or soundbar
- Front and surround speakers
- Subwoofer
- Streaming devices
- Game consoles
- Disc players
- Home theater computer
- Network switch or router
- Remote controls
- Cables and power supplies
Record the model number of each device. This makes manuals and compatibility information easier to find.
Also record each component’s dimensions and weight. Large receivers and amplifiers need suitable shelves and ventilation.
Remove Unused Equipment
Do not keep disconnected devices in the main equipment area. They occupy space and make cable identification harder.
Store useful older components separately. Recycle unwanted electronics through an appropriate local program.
2. Draw the Home Theater Layout
Create a simple top-down drawing of the room. It does not need to be professionally produced.
Mark:
- Doors and their opening direction
- Windows and curtains
- Electrical outlets
- Network connections
- Ventilation openings
- Screen or television location
- Seating positions
- Speaker locations
- Equipment storage
- Walking routes
Check whether doors can open fully. Viewers should also have a clear route between the seats and exit.
Use painter’s tape to mark furniture and equipment on the floor. This can reveal crowding before installation begins.
Plan for Daily Use
Consider who will use the room and how often. A family media room needs different organization from a dedicated cinema.
Frequently used devices should remain easy to reach. Equipment used only during maintenance can sit farther away.
3. Position the Screen First
The screen defines the viewing direction. Seating and speaker positions should be planned around it.
Avoid placing a television directly opposite an uncontrolled window. Reflections can make daytime viewing difficult.
A projector screen also needs strong light control. Light reaching the screen can reduce perceived contrast.
Check Viewing Comfort
There is no universal viewing-distance formula for every person and display. Screen size, resolution, and personal preference all matter.
Test the proposed position before mounting the television or screen. Viewers should see the entire image without repeated head movement.
Subtitles and interface text should remain easy to read. Test films, sports, and games when possible.
Keep the Screen Area Clear
Avoid placing decorative objects close to the picture. Bright indicators and reflective surfaces can become distracting.
Leave enough space for the center speaker. It should remain close to the image and directed toward the seats.
4. Organize the Home Theater Seating
Position the main seat near the screen’s centerline when practical. This provides a useful reference for speaker calibration.
Do not automatically place every seat against a wall. Rear-wall placement can restrict surround speakers and affect bass.
Check:
- Viewing angle from every seat
- Walking space around furniture
- Door and drawer clearance
- Fully extended recliner depth
- Access to power outlets
- Speaker clearance
A recliner must be measured in its fully open position. Its footrest should not block the main aisle.
Multiple Seating Rows
A rear row may need a riser to preserve the view. Calculate sightlines using actual seat and screen dimensions.
Steps should remain visible in low light. Permanent construction must follow applicable local requirements.
Our
home theater seating layout guide
explains row spacing, aisles, recliner dimensions, and risers.
5. Organize the Speaker Layout
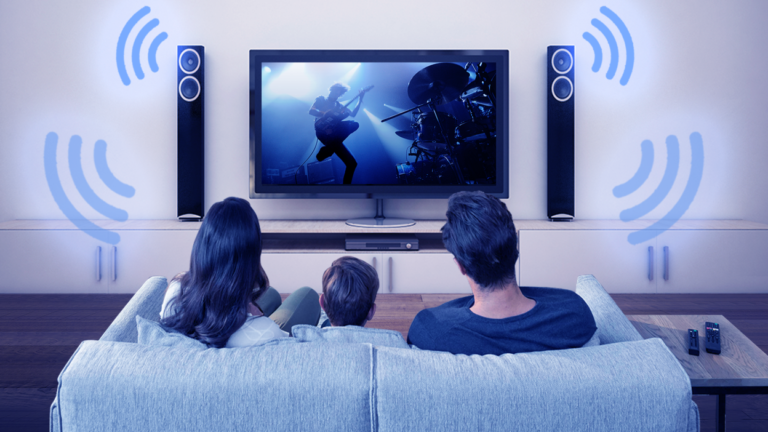
Choose the main seating position before placing speakers. It acts as the reference point for distances and angles.
A conventional surround system may include:
- Front left and right speakers
- A center speaker
- Side or rear surround speakers
- One or more subwoofers
- Optional height speakers
Keep Sound Paths Clear
Furniture should not block speaker drivers. Tall seat backs can interfere with some surround positions.
Keep decorative objects away from speaker fronts. Do not place small accessories on a subwoofer.
Use Secure Mounting
Use stands and brackets rated for the speakers. Wall construction must support the selected mounting hardware.
Route cables so they cannot pull on mounted speakers. Leave enough slack for adjustment.
Mark Speaker Cables
Label every speaker cable at both ends. Use clear names such as:
- Front Left
- Center
- Surround Right
- Top Front Left
- Subwoofer 1
Consistent labeling reduces mistakes at the receiver.
6. Organize Home Theater Equipment
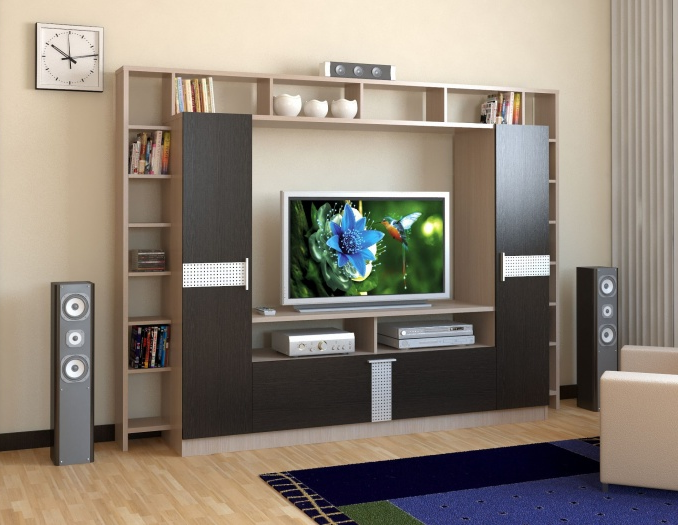
Place electronics in a ventilated cabinet, shelf system, or equipment rack. Every device should remain accessible.
Group equipment by function:
- Audio processing and amplification
- Video and streaming sources
- Gaming equipment
- Network and smart-home devices
- Power distribution
Leave Ventilation Space
Follow the clearance instructions for each component. Do not block top, side, front, or rear ventilation openings.
A receiver can produce substantial heat. Avoid stacking another warm component directly on top.
An enclosed cabinet needs a path for cooler air to enter. Warm air must also be able to leave.
Keep Heavy Equipment Low
Place heavy amplifiers and receivers on suitable lower shelves. This improves furniture or rack stability.
Check the load rating of each shelf. Overall cabinet capacity does not guarantee that one shelf can hold every component.
Preserve Rear Access
You should be able to reach connections without removing the complete system. Removable panels or a slide-out rack can help.
Our
home theater rack guide
covers dimensions, ventilation, weight, power, and equipment arrangement.
7. Plan Home Theater Cable Management
Cable management should protect connections and simplify maintenance. Appearance is only one benefit.
Separate Cable Groups
Create separate routes for:
- Electrical power
- HDMI and video cables
- Speaker cables
- Network cables
- Control and sensor wiring
Keep power and signal cables apart where practical. Do not compress large bundles into a small space.
Label Both Ends
Every cable should identify its source and destination. Examples include:
- Console to Receiver HDMI 2
- Receiver Output to TV eARC
- Switch Port 4 to Streaming Player
- Receiver to Center Speaker
Labels should remain readable after installation. Update them whenever a device moves.
Use Reusable Cable Ties
Hook-and-loop straps are easy to reopen. Do not tighten them enough to damage the cable.
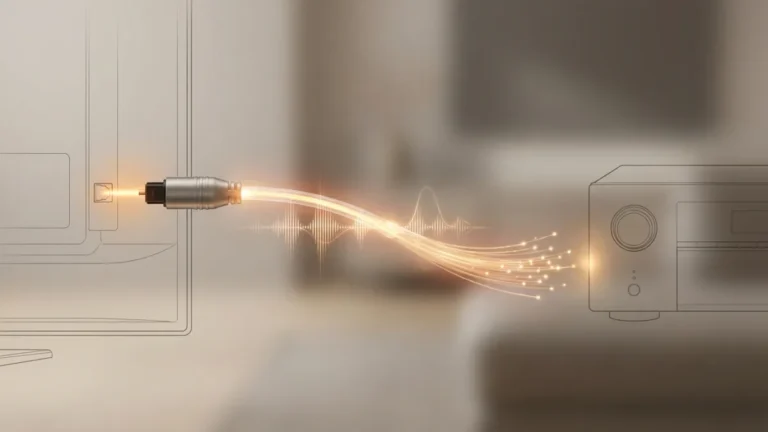
Avoid sharp bends in HDMI, optical, and network cables. Follow manufacturer limits for long or fiber-based cables.
Support Cable Weight
Heavy cable bundles should not hang from equipment connectors. Use cable bars, clips, raceways, or other suitable supports.
Leave a Service Loop
A small amount of extra cable can make servicing easier. Too much loose cable creates clutter and can restrict airflow.
Do not create tightly wound coils. Store unnecessary cable length away from ventilation openings.
Document the Connections
Create a simple connection diagram. Photograph the rear of the equipment after installation.
This record can save time when replacing a source or diagnosing a problem.
8. Organize Electrical Power
Home theater equipment can place several electrical loads in one location. Plan power distribution before connecting everything.
Check:
- The number of required outlets
- The total connected load
- Surge protection requirements
- Power supply ventilation
- Access to switches and indicators
- Local electrical requirements
Do not connect several power strips together. Do not overload an outlet or extension cable.
Label Power Supplies
Small power adapters often look identical. Label each one with its device name.
Keep adapters away from ventilation openings. Do not allow them to hang from their connectors.
Consider Backup Power Selectively
A suitable UPS may support networking, storage, and control equipment. Large amplifiers can require different planning.
Do not connect high-power components to an undersized UPS. Check its output and load compatibility.
Use Qualified Assistance
Permanent outlets and new circuits may require a licensed electrician. Never remove protective grounding to address audio noise.
9. Organize Remotes, Discs and Accessories
Small accessories create visible clutter when they lack a dedicated location. Assign storage before the room is finished.
Remote Controls
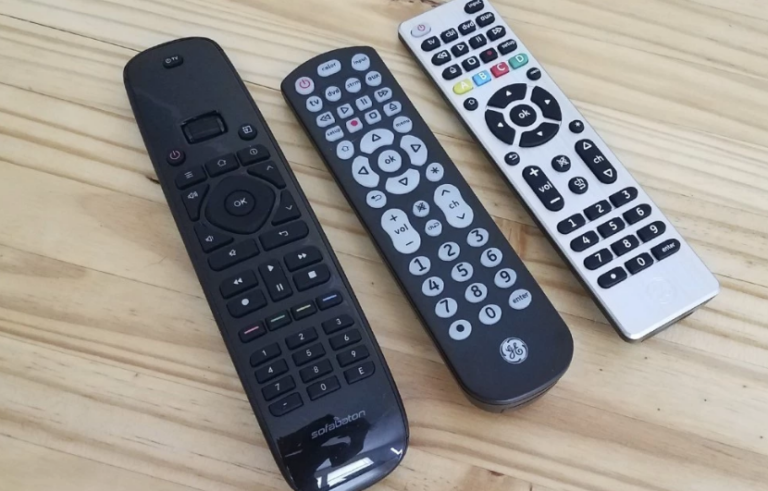
Keep remotes in one tray, drawer, or holder. Label similar devices when necessary.
Remove depleted batteries promptly. Do not store loose batteries where their terminals can contact metal objects.
Game Controllers and Headphones
Use a ventilated charging location. Cables should not cross an aisle or hang in front of equipment.
Discs and Physical Media
Store discs vertically in a dry area. Keep them away from direct sunlight and heat-producing equipment.
Manuals and Spare Parts
Keep manuals, calibration microphones, spare rack hardware, and specialty remotes together. A labeled box works well.
Save digital copies of important manuals. Include the model numbers in each filename.
Cleaning Supplies
Store screen and electronics cleaning products separately from food. Use only products approved for each surface.
Do not spray liquid directly onto a display or electronic component.
10. Organize Home Theater Lighting
Lighting should support movement and maintenance without illuminating the screen. Divide it into practical zones.
Possible zones include:
- General ceiling lighting
- Wall lighting
- Step and aisle lighting
- Equipment-area lighting
- Decorative accent lighting
Keep physical controls near the entrance. The lighting should remain usable without an application.
Create Useful Scenes
Simple scenes may include:
- Cleaning
- Welcome
- Movie
- Pause
- Exit
Avoid strong RGB effects during normal viewing. Bright or moving colors can distract from the picture.
Our
home theater lighting guide
covers fixtures, zones, dimming, glare, and path lighting.
11. Simplify Home Theater Control
An organized system should not require several complicated steps before every movie.
Decide how users will:
- Turn the system on and off
- Select a source
- Control volume
- Change television inputs
- Adjust lighting
- Pause or stop playback
Use Consistent Input Names
Rename receiver and television inputs when the equipment allows it. Use names such as Game Console, Streaming, and Disc Player.
Match those names in the connection diagram.
Reduce Remote-Control Clutter
HDMI-CEC or a compatible universal remote may combine basic controls. Behavior varies between devices. If you need help programming one, see our universal remote codes guide for finding the correct codes, using automatic code search, and checking device compatibility.
Keep the original remotes available for maintenance and advanced settings.
Preserve Manual Operation
Applications and automation can fail. Essential functions should remain available through physical controls.
12. Keep Acoustic Treatment Organized
Rugs, curtains, furniture, and acoustic panels can reduce strong reflections. They should be placed for a purpose.
Do not cover:
- Speaker drivers
- Ventilation openings
- Electrical outlets
- Lighting controls
- Door hardware
- Safety equipment
Secure Wall Panels
Use mounting hardware suitable for the panel and wall. Panels should not rest loosely above seating.
Avoid Random Over-Treatment
More absorption is not automatically better. An excessively damped room may sound unnatural.
Begin with furnishings and first-reflection areas. Advanced treatment may benefit from measurement or professional advice.
Keep the Subwoofer Area Clear
Do not use a subwoofer as a table. Nearby objects may rattle during bass-heavy scenes.
13. Create a Home Theater Maintenance Routine
Organization must be maintained after installation. A short routine prevents dust and outdated labels from accumulating.
Monthly Checks
- Remove dust from accessible surfaces.
- Check that ventilation openings remain clear.
- Inspect frequently moved cables.
- Return remotes and accessories to storage.
Occasional Checks
- Review cable labels.
- Update the connection diagram.
- Inspect mounts and furniture.
- Check surge-protection indicators.
- Remove unused applications and devices.
- Review official firmware updates.
After Moving Furniture or Speakers
Run the receiver’s calibration process again. Speaker distances and room response may have changed.
Check the picture from every seat after moving the display or furniture.
Home Theater Organization Checklist
- List every component and model number.
- Remove unused equipment.
- Draw the complete room layout.
- Position the screen and main seat first.
- Plan every speaker location.
- Check recliner and aisle clearance.
- Provide equipment ventilation.
- Place heavy components on suitable lower shelves.
- Create separate cable routes.
- Label every cable at both ends.
- Support cables near equipment connections.
- Organize power supplies safely.
- Create storage for remotes and accessories.
- Use clear input names.
- Keep lighting controls simple.
- Document the final connections.
- Run calibration after installation.
Frequently Asked Questions
How do you organize a home theater?
Start with the screen and main seat. Then arrange speakers, equipment, cables, power, lighting, and accessory storage.
Where should home theater equipment be stored?
Use a ventilated cabinet, shelf, or AV rack. Keep the equipment accessible and follow every component’s clearance requirements.
How can I hide home theater cables?
Use approved raceways, in-wall wiring methods, furniture channels, or rack management. Keep every cable labeled and serviceable.
How should I organize home theater remotes?
Assign one tray, drawer, or holder for all remotes. Keep original controllers available for advanced settings.
Should home theater equipment be visible?
Not necessarily. It can be hidden when ventilation, remote control, wireless reception, and service access remain adequate.
Can an AV receiver go inside a cabinet?
Yes, when the cabinet provides the required clearance and airflow. A sealed compartment can trap heat.
Should power and speaker cables be separated?
Keep power and signal cables apart where practical. Separate routes also make maintenance and identification easier.
How do I keep a home theater from looking cluttered?
Remove unused equipment, hide supported cable routes, use closed accessory storage, and limit decorations near the screen.
Should I calibrate the system after organizing it?
Yes. Run calibration after the seats, speakers, and subwoofer reach their final positions.
How often should home theater cables be checked?
Inspect frequently moved or exposed cables periodically. Check connections again when sound or picture problems appear.
Final Thoughts
A well-organized home theater begins with a clear room plan. The screen, seats, and speakers should be positioned before the cables.
Equipment needs ventilation and service access. Cables need labels, support, and practical routes.
Finally, create dedicated storage and simple controls. Good organization makes the theater easier to use and troubleshoot.