How to Get TV Sound Through a Home Theater System
The easiest way to get TV sound through a home theater system is usually HDMI ARC or eARC.
Both devices must have a compatible audio return port.
Older equipment may use an optical or coaxial digital connection. Analog audio is another option when no digital output is available.
A cable alone may not complete the setup. You must also select the external audio output on the television. The receiver or soundbar must use the correct input.
This guide covers each connection method. It also explains how to fix missing sound, stereo output, dropouts, and lip-sync problems.
Quick Setup: Play TV Sound Through Your Home Theater
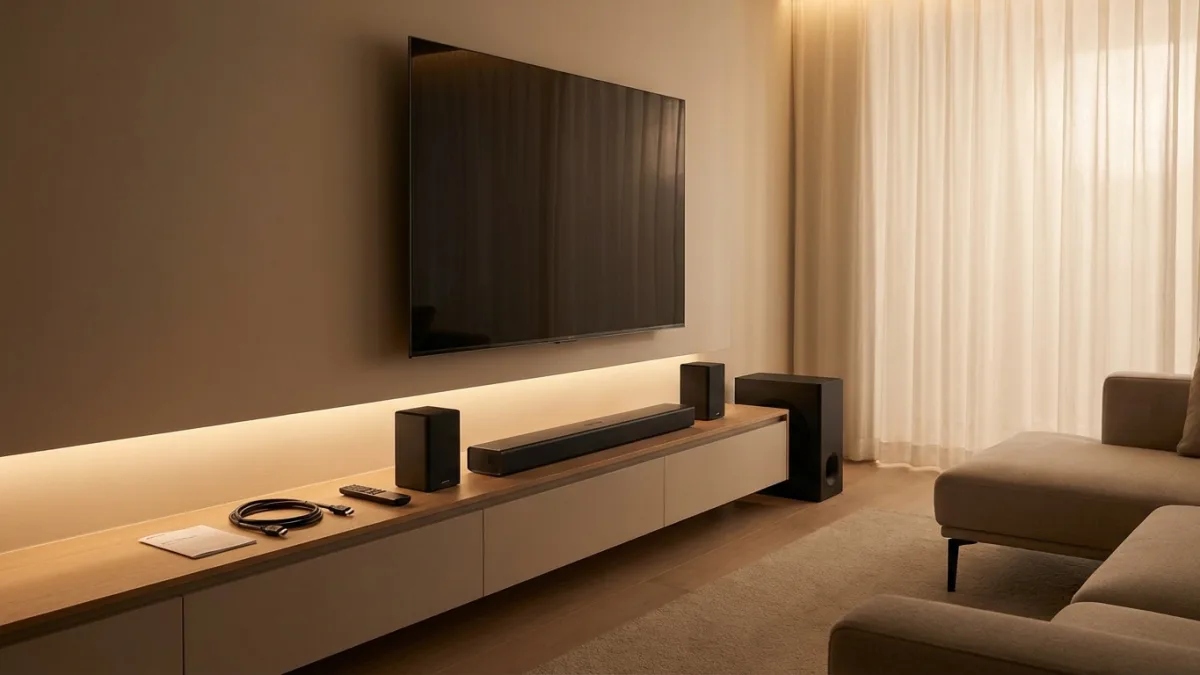
Try these steps first when both devices support HDMI ARC or eARC:
- Turn off the television and audio system.
- Find the TV port labeled ARC or eARC.
- Find the corresponding port on the receiver or soundbar.
- Connect those two ports with a suitable HDMI cable.
- Turn on both devices.
- Open the television’s sound settings.
- Select Receiver, Audio System, or HDMI ARC.
- Enable ARC or eARC when required.
- Enable HDMI-CEC when the equipment requires it.
- Select the TV Audio input on the home theater system.
Test a built-in television application first. This removes an external player from the troubleshooting process.
If there is still no sound, set Digital Audio Output to PCM temporarily. PCM can help confirm that the physical connection works.
After sound begins, try Auto, Bitstream, or Passthrough. These settings may be needed for compatible surround formats.
Compare TV Audio Connection Options
| Connection | Main advantage | Main limitation |
|---|---|---|
| HDMI eARC | Broad format support and convenient control | Both devices must support compatible eARC features |
| HDMI ARC | Audio and device control through one cable | Less audio bandwidth than eARC |
| Optical | Useful with many older devices | Limited format support and no HDMI control |
| Digital coaxial | Reliable digital connection where available | Less common on modern televisions |
| Analog audio | Works with some older equipment | Usually limited to stereo |
Use the best connection supported by both devices. A television with eARC cannot provide full eARC benefits to an ARC-only receiver.
How to Connect a TV with HDMI ARC or eARC
ARC means Audio Return Channel. It lets the television send sound back through a compatible HDMI connection.
eARC means Enhanced Audio Return Channel. It supports more audio formats and greater bandwidth than standard ARC.
Find the Correct HDMI Ports
Inspect the labels near the television’s HDMI inputs. Look for:
- HDMI ARC
- HDMI eARC
- HDMI ARC/eARC
Only one television port may support audio return. A cable connected to another HDMI input may provide no sound.
On an AV receiver, use the HDMI output labeled ARC or eARC. On a soundbar, use the port identified for connection to the television.
Connect the Devices
- Turn off the television and audio system.
- Connect their labeled ARC or eARC ports.
- Turn the television on.
- Turn the receiver or soundbar on.
- Select the television audio input.
Use a cable suitable for the required features. Replace the cable if the connection remains unstable.
Enable HDMI Control
Many ARC installations require HDMI-CEC. This feature lets compatible HDMI devices exchange control commands.
Manufacturers may use their own names for CEC. Common examples include:
- Anynet+
- BRAVIA Sync
- SIMPLINK
- EasyLink
- VIERA Link
Enable the appropriate setting on both devices. Then restart them if they do not detect each other.
Select External Audio on the Television
Open the television’s sound menu. Choose the option that sends sound to external equipment.
It may be labeled:
- Audio System
- Receiver
- HDMI ARC
- HDMI eARC
- External Speakers
Menu names vary by manufacturer and model. Use the television manual if the setting is difficult to locate.
ARC and eARC Compatibility
ARC and eARC are related but not identical. When one device supports only ARC, the connection may operate with ARC limitations.
Available formats also depend on the television. Some models cannot pass every format from every HDMI input.
Check the audio format table in the television manual. This is more reliable than assuming support from the port label.
How to Connect a TV with an Optical Cable
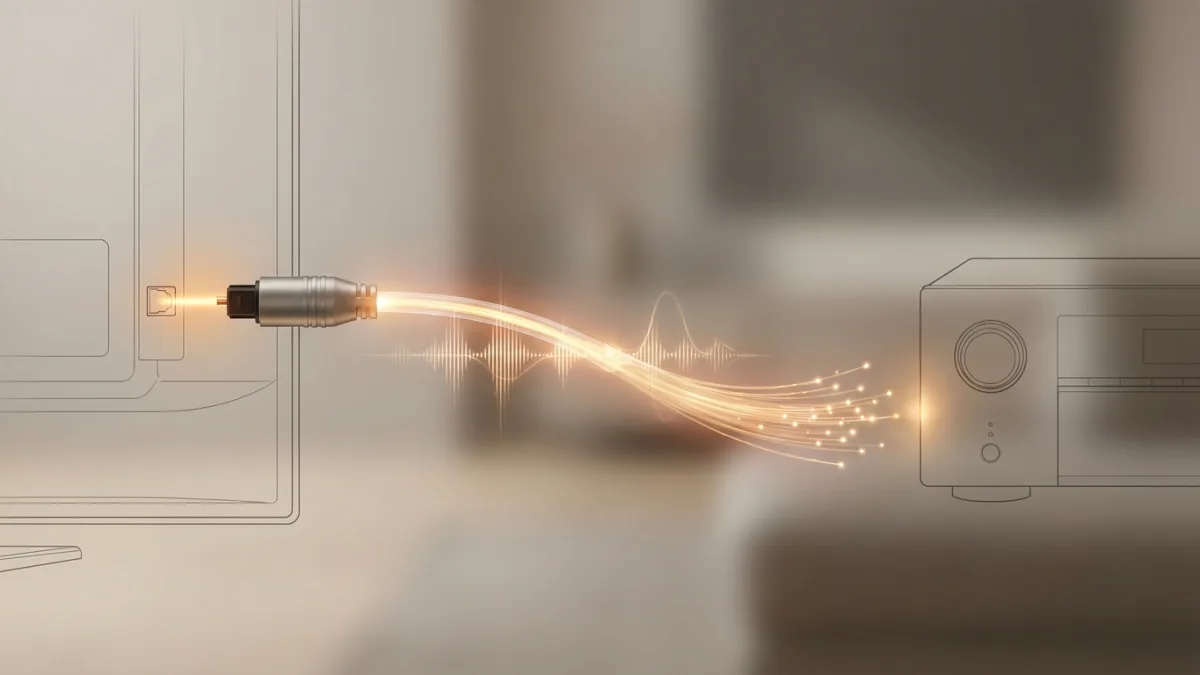
Optical audio is also known as TOSLINK. It sends a digital signal using light.
This connection is useful when ARC is unavailable. It can also simplify an installation with older equipment.
Optical Connection Steps
- Find Digital Audio Out or Optical Out on the TV.
- Remove any protective caps from the cable.
- Insert the cable without forcing the connector.
- Connect the other end to Optical In.
- Select that optical input on the audio system.
- Choose Optical or External Speakers on the TV.
The connector has a specific orientation. Turn it gently until it aligns with the port.
Avoid tight bends in the cable. A damaged optical cable may cause interruptions or no sound.
Optical Audio Settings
Start with PCM if no sound is heard. This setting commonly provides stereo compatibility.
Try Auto or Bitstream when you need compatible compressed surround sound. Available formats depend on both devices.
Optical Limitations
Optical cannot carry the same range of high-bandwidth formats as eARC. It also lacks HDMI-CEC device control.
The television remote may not control receiver volume through optical. Some audio systems offer separate remote-learning functions.
How to Use Digital Coaxial Audio
Some televisions provide a coaxial digital output. It often uses an RCA-style connector.
Do not confuse this port with an analog audio output. Check the label carefully.
Digital Coaxial Connection Steps
- Find Coaxial Digital Out on the television.
- Find Coaxial In on the receiver.
- Connect the ports with a suitable digital coaxial cable.
- Select the assigned coaxial input on the receiver.
- Choose Digital Audio Out on the television.
The receiver may require input assignment. Its setup menu can link the coaxial port to a source name.
Try PCM when troubleshooting. Use Auto or Bitstream for compatible surround formats.
How to Use an Analog Audio Connection
Older televisions may provide a headphone output or red and white audio connectors. These can send stereo sound to compatible equipment.
Possible cables include:
- 3.5 mm to 3.5 mm
- 3.5 mm to stereo RCA
- Stereo RCA to stereo RCA
Connect the television output to an analog input. Never connect it to a phono input.
A headphone output may use variable volume. Start at a low level and increase it gradually.
Analog connections normally provide stereo. The receiver may apply processing to use additional speakers.
Some televisions have no analog output. In that case, an appropriate digital audio converter may be required.
Should Source Devices Connect to the TV or Receiver?
A game console or media player can often connect to either device. The best route depends on video and audio compatibility.
Connect the Source to the Television
This arrangement can preserve video features that an older receiver cannot pass. The television then returns audio through ARC or eARC.
However, the TV must support the incoming audio format. It must also pass that format to the audio system.
Connect the Source to the Receiver
This route sends audio directly to the receiver. The receiver then sends video to the television.
It can simplify audio compatibility. However, the receiver must support the required video signal.
Check resolution, refresh rate, HDR, and gaming features. An older receiver may limit one or more of them.
Test Both Routes
There is no universal connection order for every system. Compare the manuals for all three devices.
Use the route that preserves the required video and audio formats.
Choose the Correct TV Audio Settings
Speaker Output
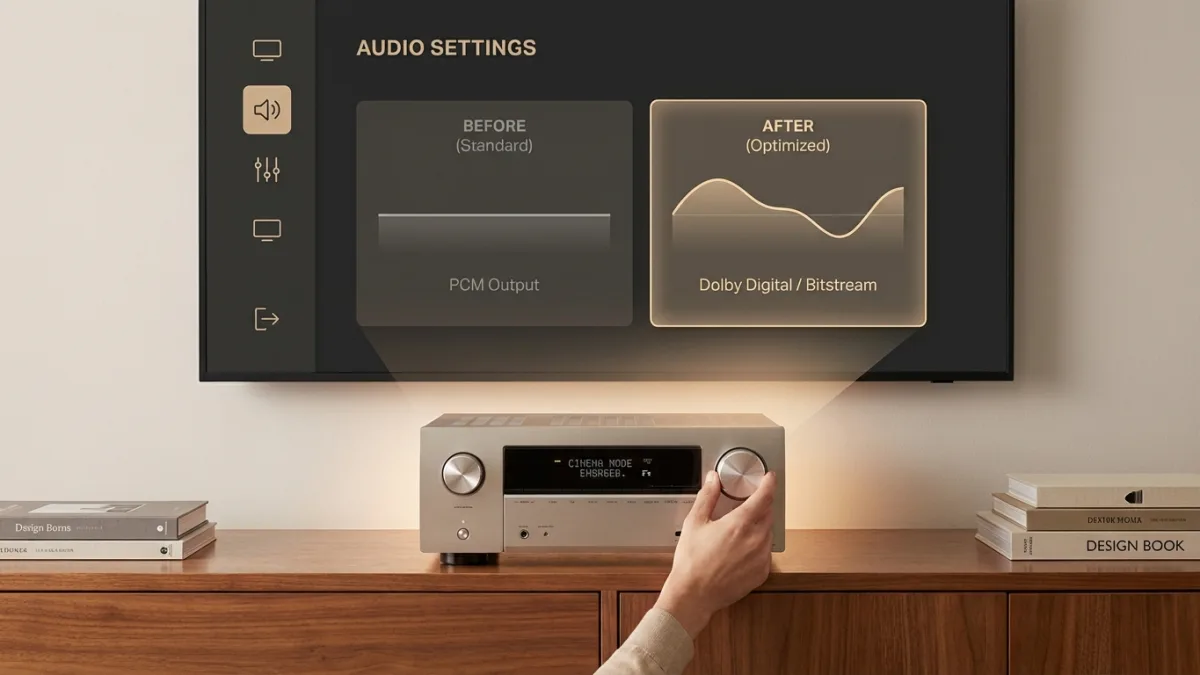
Select the external audio system instead of the internal TV speakers. Some televisions can use both outputs, but this may create an echo.
Digital Audio Format
Common options include:
- PCM: useful for basic compatibility and troubleshooting
- Auto: lets the television select a supported format
- Bitstream: sends an encoded format for external decoding
- Passthrough: attempts to pass the original compatible signal
The exact behavior differs between televisions. PCM may be stereo through some connections.
Start with PCM when diagnosing no sound. Afterward, test Auto or Passthrough for multichannel playback.
eARC Mode
Set eARC to Auto or On when both devices support it. Turn it off temporarily if an older ARC receiver has connection problems.
HDMI Input Audio Format
Some televisions provide a separate format setting for each HDMI input. This setting may affect consoles and external players.
Check the source device as well. It must output a format supported by the television and receiver.
Configure the Receiver or Soundbar
Select the input assigned to television audio. Common names include TV Audio, ARC, Optical, and Digital In.
Then check:
- ARC or eARC is enabled.
- HDMI control is enabled when required.
- The correct physical input is assigned.
- The receiver is not muted.
- Speaker channels are enabled.
- The listening mode matches the source.
Run Speaker Calibration
Many receivers include an automatic calibration system. Use the supplied microphone and follow the manual.
Place the microphone at seated ear height. Keep the room quiet during measurements.
Review the detected speaker sizes and distances afterward. Correct obvious measurement errors before listening.
Our
home theater setup guide
covers speaker positioning and system calibration in more detail.
How to Confirm That Surround Sound Is Working
The number of connected speakers does not guarantee surround playback. The source must contain a compatible multichannel soundtrack.
Use the receiver’s information screen. It may show both the incoming format and active output channels.
Check:
- The selected language or audio track
- The streaming service plan
- The program’s available formats
- The source device’s audio output
- The television’s digital audio setting
- The receiver’s listening mode
A television broadcast or online video may contain only stereo. The receiver can process stereo across more speakers, but this is not the same as a discrete surround mix.
For an explanation of channel layouts, see our
5.1 surround sound system guide.
Troubleshooting: TV Sound Is Not Playing Through the System
There Is No Sound
- Confirm that the receiver is not muted.
- Select the correct receiver input.
- Select external audio on the television.
- Check both ends of the cable.
- Verify that the correct ports are used.
- Set the television to PCM temporarily.
- Restart every connected device.
HDMI ARC or eARC Has No Sound
- Use only the ports labeled ARC or eARC.
- Enable HDMI-CEC on both devices.
- Enable ARC or eARC in both menus.
- Select TV Audio on the receiver.
- Disconnect other HDMI devices temporarily.
- Test another suitable HDMI cable.
Another HDMI device can sometimes interfere with CEC communication. Reconnect additional devices one at a time.
Optical Audio Has No Sound
- Remove the cable’s protective caps.
- Confirm that Optical Out is selected.
- Select the correct optical input.
- Set the television output to PCM.
- Inspect the cable for sharp bends.
Only Stereo Is Available
- Check whether the source contains surround audio.
- Select the multichannel audio track.
- Change PCM to Auto or Bitstream.
- Check the streaming application’s audio options.
- Inspect the receiver’s incoming-signal display.
Sound Cuts Out
- Reconnect the cable.
- Try another certified cable.
- Restart the connected devices.
- Test another source or application.
- Check official firmware updates.
Change only one setting at a time. This makes the cause easier to identify.
The Television Remote Does Not Control Volume
Enable HDMI-CEC when using ARC or eARC. Then select the audio system as the television’s output.
Optical does not provide HDMI control. Use the audio-system remote or its remote-learning feature.
TV Speakers and External Speakers Play Together
Disable the internal television speakers. Using both systems can create an echo.
Some televisions offer a combined output for accessibility. Turn it off if it is not required.
How to Fix Audio Delay and Lip-Sync Problems
Audio delay occurs when sound and picture arrive at different times. Video processing can contribute to this problem.
Look for:
- Audio Delay
- Lip Sync
- A/V Sync
- Digital Audio Delay
Adjust the setting in small steps. Test speech with a clear view of the speaker’s face.
Do not change delay settings on several devices at once. Start with the receiver or soundbar.
Game modes often reduce video processing. They may improve synchronization during gaming.
If delay changes between applications, test another connection route. Connecting the source directly to the receiver may help in some systems.
TV and Home Theater Connection Checklist
- Identify the outputs available on the television.
- Identify the inputs on the audio system.
- Use ARC or eARC ports when available.
- Select external audio on the television.
- Enable HDMI-CEC when required.
- Select the correct receiver input.
- Test PCM first when there is no sound.
- Try Auto or Passthrough for surround audio.
- Confirm the incoming format on the receiver.
- Test a built-in television application.
- Run speaker calibration after connection.
- Adjust lip sync only when necessary.
If you are still choosing an audio format, our
soundbar versus home theater system comparison
explains the main differences.
Frequently Asked Questions
How do I get my TV to play through my home theater system?
Connect both devices through ARC, eARC, optical, or another compatible output. Then select external audio on the television and the matching receiver input.
Why is there no sound through HDMI?
You may be using the wrong HDMI ports. ARC or eARC must also be enabled. The receiver needs the correct TV audio input.
Is HDMI eARC better than optical?
eARC supports a wider range of audio formats and HDMI control features. Optical remains useful for older equipment and simpler installations.
Should the TV audio output be PCM or Bitstream?
PCM is a useful troubleshooting choice. Auto, Bitstream, or Passthrough may be needed for compatible multichannel formats.
Why does my system play only stereo?
The source may contain stereo audio. The television may also be sending PCM stereo. Check the source track and receiver information screen.
Can I use the television remote for receiver volume?
Often yes, when ARC or eARC and HDMI-CEC are enabled. Exact behavior depends on the television and audio system.
Can I use optical and HDMI ARC at the same time?
Usually only one TV audio output should be selected. Using both can create control problems or duplicate sound.
Why is Netflix or another application not producing surround sound?
Check the selected program, audio track, application plan, and device support. Then confirm the format received by the audio system.
Can an old home theater system connect to a new television?
Possibly. Optical, coaxial, or analog audio may provide a compatible connection. An appropriate converter may be needed in some cases.
Final Thoughts
HDMI eARC is usually the most capable connection for modern equipment. HDMI ARC remains practical for many conventional systems.
Optical and coaxial audio are useful alternatives. Analog stereo can connect some older devices.
When sound is missing, check the ports, output setting, and receiver input first. Most problems come from configuration rather than failed equipment.
After sound begins, confirm the incoming format. Then calibrate the speakers and correct any synchronization delay.