DIY Home Theatre Guide: Create a Cinematic Experience at Home
This DIY home theater guide explains how to plan a comfortable viewing space, choose suitable audio and video equipment, improve room acoustics, connect components, and calibrate the completed system.
A successful home theater does not require the largest screen or the greatest number of speakers. Room dimensions, viewing distance, light control, equipment compatibility, ventilation, and speaker placement usually matter more than impressive specifications considered separately.
Begin with the room and the way the system will be used. Then select components that work together and leave room in the budget for cables, mounting hardware, furniture, lighting, and acoustic improvements.
Explore related guides:
Home Theater Design Ideas •
How to Organize a Home Theater
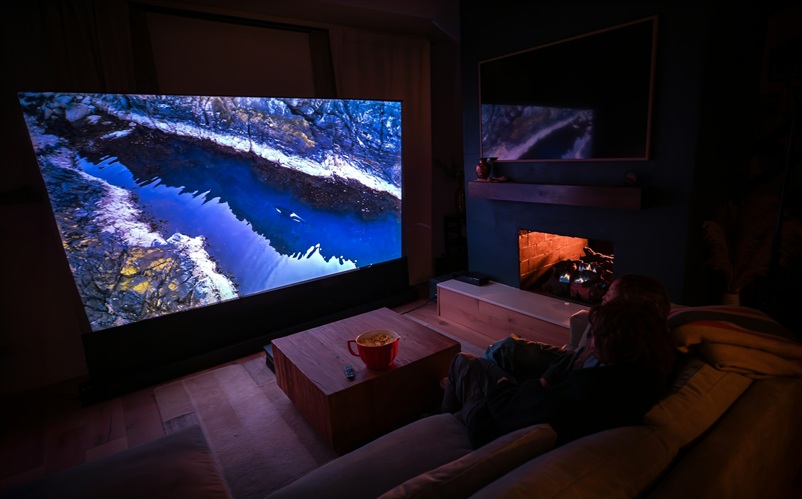
Planning a DIY Home Theater
Evaluate the room before choosing equipment. The same television, projector, or speaker package can perform very differently depending on the space in which it is installed.
Record:
- room length, width, and ceiling height;
- the positions of doors and windows;
- available wall space;
- electrical outlet locations;
- existing internet or network connections;
- the location of heating and ventilation equipment;
- the likely seating position;
- the amount of daylight entering the room.
Decide How the System Will Be Used
A setup created mainly for films may prioritize screen size, controlled lighting, and surround sound. A multipurpose living room may need a bright television, compact speakers, and furniture that works for everyday conversation.
Consider whether the system will be used for:
- films and television;
- sports;
- gaming;
- music;
- streaming services;
- physical media;
- family gatherings.
Choose the Main Seating Position First
The primary seat influences the screen location, speaker arrangement, and acoustic calibration. Avoid placing it directly against the rear wall when another practical position is available, as wall proximity can make bass response and surround effects less consistent.
Plan the Pathways
Seats, tables, speakers, and equipment should not obstruct doors or regular movement through the room. Keep loose cables away from walkways and allow enough space to reach connections for future maintenance.
Setting a Realistic Home Theater Budget
Divide the budget into categories before comparing individual products. This helps prevent one impressive component from consuming money needed for the rest of the system.
Possible categories include:
- television, projector, or projection screen;
- speakers or soundbar;
- AV receiver or amplifier;
- streaming and playback devices;
- cables and adapters;
- mounting hardware;
- surge protection or suitable power distribution;
- seating and furniture;
- curtains, rugs, or acoustic treatment;
- professional electrical or installation work when required.
Prioritize the Elements You Cannot Change Easily
Room wiring, projector placement, fixed screens, built-in furniture, and speaker mounting are more difficult to revise than a streaming device or decorative accessory. Plan permanent elements carefully before purchasing smaller upgrades.
Upgrade in Stages
A home theater can be built gradually. One practical sequence is:
- Choose the display and establish the seating position.
- Add a soundbar or front stereo speakers.
- Add a center speaker and subwoofer if the system supports them.
- Install surround speakers.
- Improve light control and room acoustics.
- Add height channels or automation only when they provide a meaningful benefit.
Confirm that the receiver or other central equipment can support the planned future configuration before buying additional speakers.
TV or Projector?
Both options can produce an enjoyable home theater, but they suit different rooms and priorities.
When a Television Is a Practical Choice
A television generally works well in a multipurpose room where:
- daylight cannot always be controlled;
- the system is used frequently for casual viewing;
- quick startup and simple operation are important;
- there is limited space for projection equipment;
- installation needs to remain relatively straightforward.
Consider screen size, viewing distance, reflections, available inputs, audio return features, gaming requirements, mounting method, and compatibility with the other components.
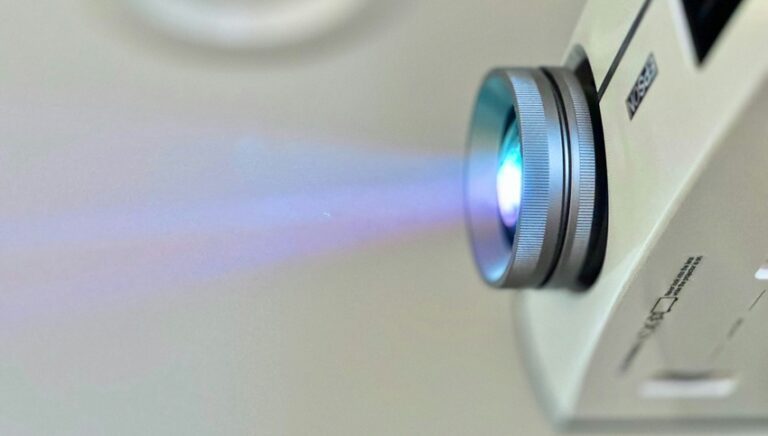
When a Projector May Be Better
A projector can provide a larger image and a more cinema-like presentation, particularly in a room where ambient light can be controlled.
Before choosing one, consider:
- the required projection distance;
- the available image size;
- projector brightness and room light;
- screen material;
- placement and mounting options;
- fan noise near the seating area;
- ventilation requirements;
- access for cleaning and maintenance;
- the location of power and signal connections.
Standard and Ultra-Short-Throw Projectors
A conventional projector normally sits behind or above the seating area and requires a suitable distance from the screen. An ultra-short-throw model is positioned close to the wall, which can simplify placement but requires careful alignment and a stable surface.
Do not assume that every projector will work with every screen or room. Use the manufacturer’s throw-distance calculator and installation instructions for the exact model.
Do You Need a Projection Screen?
A smooth painted wall may be sufficient for basic experimentation, but a dedicated screen can provide a more uniform surface and predictable image.
Screen choice depends on:
- projector type;
- room lighting;
- desired image size;
- viewing angles;
- wall and speaker arrangement;
- whether the screen will be fixed or retractable.
Use a screen specifically compatible with the projector type. Ultra-short-throw projectors can be particularly sensitive to surface irregularities and screen selection.
Screen Size and Viewing Position
The largest screen that fits on the wall is not automatically the most comfortable option. Screen size should be considered together with seating distance, image resolution, content, and personal preference.
Test Before Installing
If using a projector, temporarily display several image sizes on the wall and watch different types of content from the planned seat. If buying a television, mark its external dimensions on the wall with removable tape.
Check whether:
- the entire picture is comfortable to view without excessive eye or head movement;
- subtitles are easy to read;
- the screen dominates the room more than intended;
- speakers and furniture still have enough space;
- doors, shelves, and ventilation openings remain accessible.
Set an Appropriate Screen Height
The viewing position should feel natural rather than requiring viewers to look sharply upward for long periods. Test the height while seated in the furniture that will actually be used.
If seating includes several rows, confirm that viewers in the back can see the screen without the front row blocking the image. Raised platforms require careful structural planning and safe steps, edges, and lighting.
Choosing a Home Theater Audio System
The best audio arrangement depends on the room, budget, installation limits, and desired level of immersion.
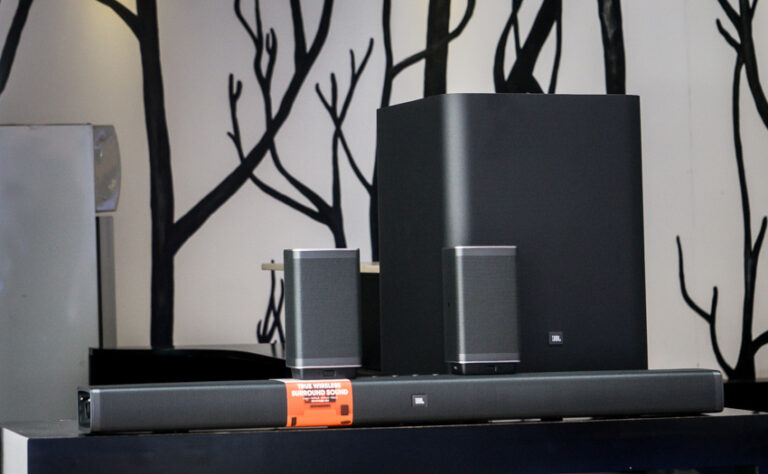
Soundbar
A soundbar is useful when space is limited or a simple installation is the main priority. Some models support a separate subwoofer and wireless surround speakers.
Check the available connections, audio-format support, room-correction features, and whether optional speakers can be added later.
Stereo System
Two well-positioned speakers can provide clear dialogue, music, and a broad front soundstage. A subwoofer may be added for deeper bass, creating a 2.1 configuration.
3.1 System
A left speaker, center speaker, right speaker, and subwoofer provide a defined front soundstage. The center channel handles much of the dialogue in compatible film and television soundtracks.
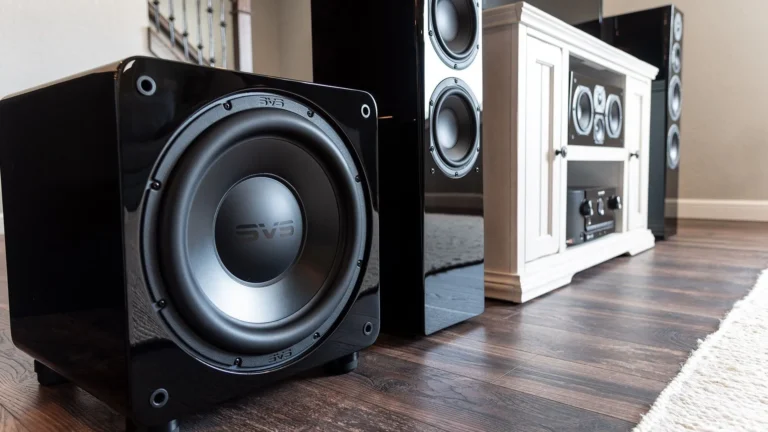
5.1 Surround Sound
A typical 5.1 system includes:
- front left speaker;
- center speaker;
- front right speaker;
- two surround speakers;
- one subwoofer.
This is a practical starting point for a dedicated surround system and can work in many medium-sized rooms.
7.1 and Immersive Audio
A 7.1 system adds two additional ear-level channels. Configurations such as 5.1.2 or 5.1.4 add height or overhead channels for compatible immersive audio.
More speakers do not automatically provide better sound. Each channel needs a suitable position, compatible amplification, correct configuration, and calibration.
AV Receiver
An AV receiver can act as the center of a component-based home theater. It may switch video sources, decode audio formats, power speakers, manage bass, and provide room correction.
Check:
- the number of amplified channels;
- supported speaker configurations;
- available HDMI inputs and outputs;
- compatibility with the display and source devices;
- audio return support;
- room-calibration features;
- ventilation requirements;
- options for future expansion.
Home Theater Speaker Placement
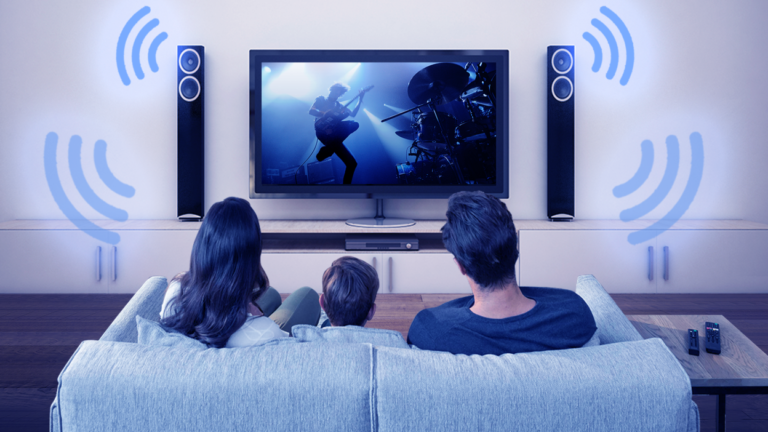
Speaker placement has a substantial effect on clarity and immersion. Begin with the recommendations supplied by the speaker and receiver manufacturers, then use calibration to refine the system.
Front Left and Right Speakers
Place the front speakers on either side of the display and angle them toward the main seating position when recommended by the manufacturer. Keep the arrangement reasonably symmetrical where the room allows.
Center Speaker
Place the center channel close to the screen so dialogue appears connected to the picture. It is commonly positioned directly above or below the display.
Avoid enclosing it in furniture that blocks the drivers or ventilation. If the speaker sits above or below ear height, angle it toward the main seat when its design permits.
Surround Speakers
In a 5.1 layout, surround speakers are generally positioned to the sides or somewhat behind the main listening area. Do not place every speaker at the front of the room and expect a convincing surround effect.
For configuration-specific angles and diagrams, consult the
Dolby home theater speaker setup guide
together with the instructions supplied by the equipment manufacturers.
Subwoofer
Low-frequency performance can change significantly when the subwoofer is moved, even within the same room. Test several practical positions instead of assuming that a corner will always provide the most balanced result.
Avoid blocking ventilation or placing the cabinet where it creates a trip hazard. Use the manufacturer’s isolation recommendations when vibration transfers through the floor or nearby furniture.
Height Speakers
Height effects may be produced by ceiling-mounted, in-ceiling, wall-mounted, or upward-firing speakers, depending on the system. These approaches are not interchangeable in every room.
Ceiling installation, new wiring, and structural mounting may require qualified professional assistance. Follow the speaker-layout guidance for the precise configuration selected.
Improving Home Theater Acoustics
A room with many hard surfaces can produce strong reflections that reduce dialogue clarity. Before purchasing expensive acoustic products, begin with the furnishings already used in a comfortable living space.
Control Excessive Reflections
Curtains, upholstered furniture, rugs, and selected fabric surfaces can reduce some high-frequency reflections. Bookshelves and irregular furnishings may also help prevent the room from behaving like an empty box.
Do not cover every surface with thin foam. Excessive absorption at higher frequencies without appropriate low-frequency treatment can make the room sound dull while leaving bass problems unresolved.
Acoustic Panels
Purpose-built absorption panels can help control early reflections and improve clarity when placed appropriately. Their effectiveness depends on thickness, construction, location, and the acoustic problem being addressed.
Bass Traps
Low-frequency problems are often more difficult to control because bass wavelengths are long. Appropriately designed corner or wall treatments can help, but substantial improvement may require measurement and careful placement.
Sound Treatment Is Not Soundproofing
Acoustic treatment improves sound inside the room. Soundproofing aims to reduce transmission into adjoining spaces and typically involves construction details such as mass, isolation, sealed gaps, and controlled ventilation.
Adding decorative foam to a wall should not be expected to stop powerful bass from reaching another room.
Connecting Home Theater Equipment
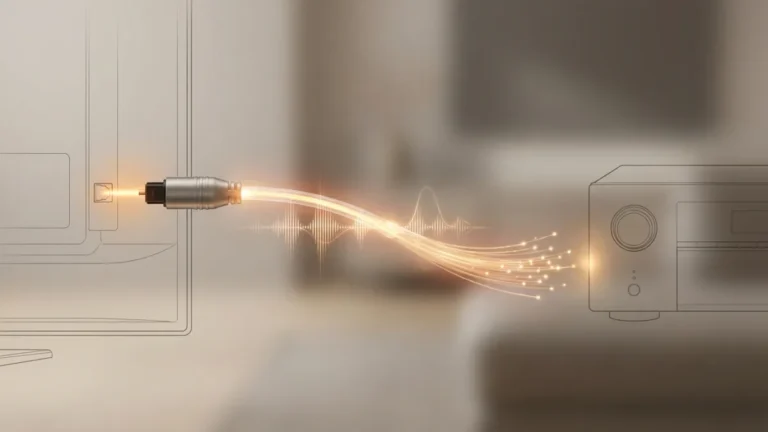
Plan the signal path before connecting cables. A typical setup may route source devices through an AV receiver and then to the display, or connect sources directly to the television and return compatible audio to the sound system.
Create a Connection Diagram
List every device and identify:
- which device supplies the picture and sound;
- which input it will use;
- where the video signal will go;
- where the audio signal will be decoded;
- which control method or remote will be used.
Check Compatibility Before Buying Cables
A cable should support the required signal and be appropriate for its installed length and location. Do not buy cables only because they use the correct connector shape.
For long connections, particularly between a projector and receiver, verify the cable manufacturer’s supported distance and installation requirements.
Label Both Ends
Label HDMI, speaker, network, and power cables at both ends before placing equipment in a cabinet. This makes troubleshooting and future upgrades much easier.
Separate Signal and Power Where Practical
Organize cables so they are not tightly tangled, crushed behind furniture, bent beyond their recommended radius, or stretched across pathways.
Do not route ordinary removable cables inside walls unless they are specifically rated and permitted for that installation under the applicable local requirements.
Allow Access for Maintenance
Leave enough cable length and physical access to move equipment safely, inspect connections, and replace a device without dismantling the entire room.
Home Theater Lighting and Interior Design
Lighting should allow safe movement, equipment operation, cleaning, and comfortable viewing.
Control Daylight
Blackout curtains or blinds can improve projector performance and reduce reflections on television screens. In a multipurpose room, layered window treatments can provide a choice between full daylight, filtered light, and blackout conditions.
Use Several Lighting Zones
A useful plan may include:
- general ceiling lighting;
- wall or indirect lighting;
- low-level pathway illumination;
- small task lights near equipment or seating;
- bias lighting behind a television when appropriate.
Dimmers can help create several scenes when the fixtures, bulbs, and controls are mutually compatible.
Avoid Screen Reflections
Position lamps so they do not reflect directly in the screen. Highly polished tables, bright decorative objects, and light-colored walls close to a projection screen can also become distracting during dark scenes.
Choose Comfortable Seating
Test seat depth, back support, head position, and viewing height rather than choosing furniture only for its cinema-like appearance. Leave space for movement and provide stable surfaces for drinks and remote controls.
Ventilate Equipment Cabinets
AV receivers, game consoles, projectors, amplifiers, and streaming devices may produce heat. Follow each manufacturer’s clearance and ventilation instructions and avoid enclosing equipment in an unventilated cabinet.
Installation and Electrical Safety
Home theater equipment can be heavy, generate heat, and place a considerable load on mounting hardware and electrical connections. Safety should be considered before cosmetic cable concealment or decorative finishing.
- Follow the installation and clearance instructions supplied with every component.
- Use mounting hardware rated for the device, wall structure, and installation method.
- Confirm the wall or ceiling structure before mounting a television, projector, screen, or speaker.
- Do not block equipment ventilation openings.
- Replace damaged plugs, cables, and power accessories.
- Do not overload wall outlets, extension cords, or power strips.
- Keep cables away from water, heat sources, sharp edges, and walkways.
- Use electrical accessories that comply with the requirements applicable in your country.
- Keep heavy equipment stable and inaccessible to children where appropriate.
The
U.S. Consumer Product Safety Commission
provides guidance about extension-cord safety. Readers outside the United States should follow their local electrical regulations and product-safety guidance.
Permanent wiring, new outlets, changes to electrical circuits, and installations inside walls or ceilings may require permits and a qualified electrician. Do not attempt this work unless it is legal and you have the necessary professional competence.
Secure Mounted Equipment Correctly
A projector or television mount must be attached to a structure capable of supporting the equipment and the mount itself. The fasteners supplied for one wall construction may not be appropriate for another.
If the structure cannot be confirmed or the mounting instructions are unclear, use a qualified installer.
Calibrating Audio and Video
Calibration helps the equipment work as a complete system rather than as a collection of unrelated components.
Audio Calibration
Many AV receivers and sound systems include a measurement microphone and automated room-correction procedure.
Before starting:
- place the speakers in their intended positions;
- connect every speaker to the correct channel;
- set the subwoofer controls according to the system instructions;
- make the room reasonably quiet;
- position the microphone as directed by the manufacturer.
After calibration, review the detected speaker layout, distances, channel levels, and crossover settings. Automated systems can be helpful, but an incorrect microphone position or wiring mistake can produce inaccurate results.
Dialogue Clarity
If speech is difficult to understand:
- confirm that the center speaker is connected and enabled;
- check whether the correct soundtrack is selected;
- verify the center speaker’s placement and angle;
- review the channel level and room-correction result;
- reduce strong nearby reflections where practical.
Video Calibration
Begin with an accurate or cinema-oriented picture preset rather than the most vivid showroom mode. Disable unnecessary processing only after confirming what each setting does.
Adjust:
- picture mode;
- brightness and black-level controls;
- contrast or white level;
- color temperature;
- sharpness;
- motion processing;
- aspect ratio and overscan;
- high-dynamic-range settings when applicable.
Use reliable test patterns or a professional calibration service when accurate reproduction is important. Settings copied from another display may not transfer correctly, even when the model is similar.
Troubleshooting Common Home Theater Problems
No Picture
- Confirm that the display and source device are powered on.
- Select the correct display and receiver inputs.
- Reconnect the HDMI cable at both ends.
- Test a different known-working input or cable.
- Restart the source, receiver, and display.
- Reduce the source output temporarily if the selected signal is unsupported.
No Sound
- Confirm that the correct audio output is selected.
- Check mute and volume settings.
- Verify the receiver or soundbar input.
- Confirm that the expected speakers are enabled.
- Inspect speaker and HDMI connections.
- Test another source or audio format.
Sound but No Surround Effects
Check the source soundtrack, playback-device audio settings, receiver listening mode, and speaker configuration. Some programs provide only stereo audio, and applying an unsuitable mode may produce unexpected results.
Intermittent Picture or Audio
A marginal cable connection, unsupported signal format, damaged connector, firmware problem, or HDMI control conflict may cause intermittent operation.
Simplify the system by connecting one source directly to the display or receiver. Add components back one at a time until the problem returns.
Projector Image Is Blurred or Distorted
Check focus, projector alignment, screen flatness, lens cleanliness, throw distance, and image-shift controls. Avoid relying heavily on digital keystone correction when correct physical alignment is possible.
Bass Is Excessive in One Seat
Move the subwoofer or seating position slightly and recalibrate the system. Bass response can change substantially over a short distance because of room interactions.
Remote Controls Are Unreliable
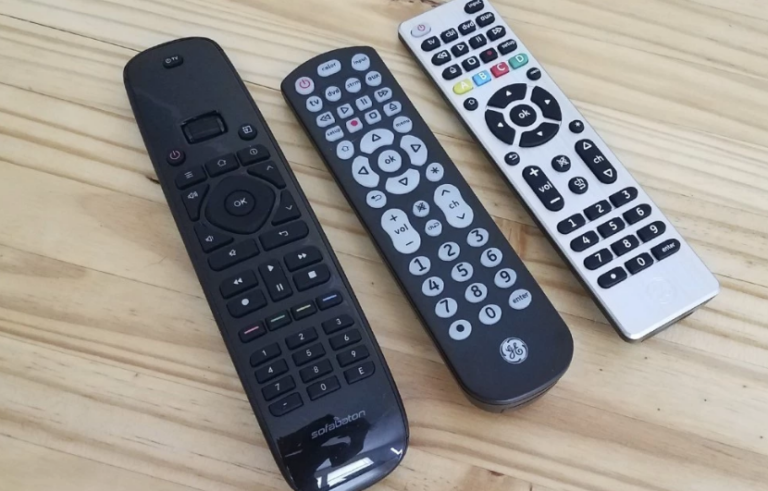
Replace batteries, confirm that equipment sensors are not blocked, and check whether cabinet doors interfere with infrared signals. Review HDMI control settings if devices switch inputs or power states unexpectedly.
Maintenance and Future Upgrades
Regular maintenance can prevent heat, dust, and cable problems from reducing reliability.
- Remove dust according to the manufacturer’s cleaning instructions.
- Keep ventilation openings clear.
- Inspect visible cables and plugs for damage.
- Check wall and ceiling mounts periodically.
- Install firmware updates when they address relevant compatibility or security issues.
- Save calibration settings before making major changes when the equipment permits.
- Review projector filter, lens, and light-source maintenance requirements.
Upgrade the Weakest Part First
Before replacing major equipment, identify the actual limitation. Dialogue problems may come from speaker placement or room reflections rather than the receiver. A disappointing projected image may result from uncontrolled daylight or an unsuitable screen rather than insufficient resolution.
Upgrades should solve a defined problem rather than add complexity without a clear benefit.
Frequently Asked Questions
What equipment is required for a basic home theater?
A basic system needs a display, a playback or streaming source, an audio solution, suitable cables, and comfortable seating. The audio solution may be the display’s built-in speakers, a soundbar, stereo speakers, or a component-based surround system.
Is a projector better than a television?
A projector can provide a larger image in a light-controlled room, while a television is often easier to use in a bright multipurpose space. The better option depends on room conditions, desired image size, installation requirements, and budget.
Is 5.1 surround sound enough?
A correctly placed and calibrated 5.1 system can provide an immersive experience. Adding more channels is worthwhile only when the room, receiver, content, and speaker positions support them properly.
Do I need acoustic panels?
Not always. Begin with speaker placement, calibration, rugs, curtains, and upholstered furniture. Add purpose-built treatment when a specific acoustic problem remains and the correct placement can be determined.
Can I put a projector on a shelf?
Some projectors support shelf placement, while others require a different orientation or position. Confirm the throw distance, ventilation clearance, image controls, and approved installation orientation in the manual for the exact model.
Can home theater cables be installed inside a wall?
Only cables specifically rated and permitted for that type of installation should be used. Local building and electrical requirements vary, so concealed or permanent wiring may require a qualified installer.
Should I buy all the equipment at once?
No. A system can be assembled in stages, provided the core equipment supports the planned future configuration. Starting with a good display and front audio system can be more effective than buying a low-quality package with many components.
How can I improve dialogue without replacing the system?
Check the center speaker position, audio format, channel level, room-correction result, and nearby reflective surfaces. In a soundbar or television system, look for a dialogue-enhancement setting and confirm that the correct audio output is selected.
Final Thoughts
A successful DIY home theater begins with planning rather than equipment shopping. Determine the room’s limitations, establish the seating and screen positions, and choose compatible audio and video components that suit the way the system will actually be used.
Speaker placement, light control, ventilation, acoustic conditions, and calibration can improve the experience as much as a costly hardware upgrade. Complete safe, reversible setup work yourself where appropriate, but use qualified professionals for permanent electrical work, uncertain structural mounting, and installations beyond your experience.