How to Remove Odor From a Refrigerator
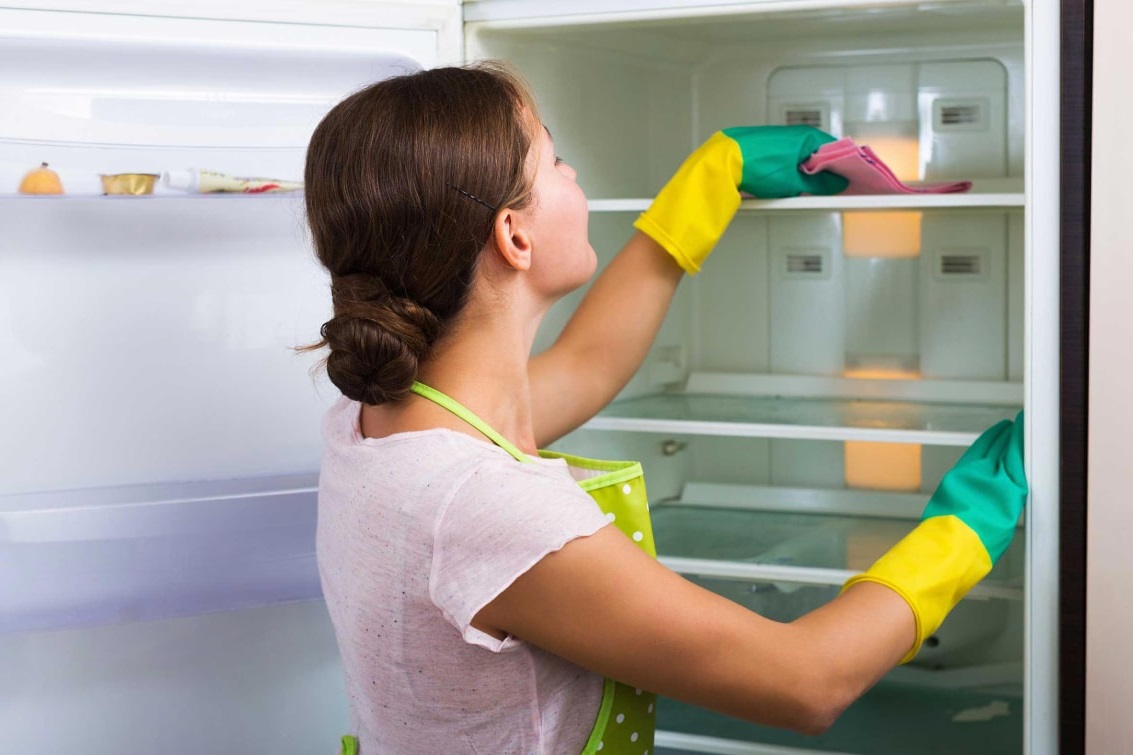
Knowing how to remove odor from a refrigerator begins with finding the source of the smell.
Spoiled food, leaking containers, dried spills, dirty door seals, and residue beneath drawers are among the most common causes.
A deodorizer may reduce a mild smell, but it cannot replace proper cleaning.
The refrigerator should be emptied when necessary, cleaned carefully, and dried before food is returned.
What Causes Refrigerator Odors?
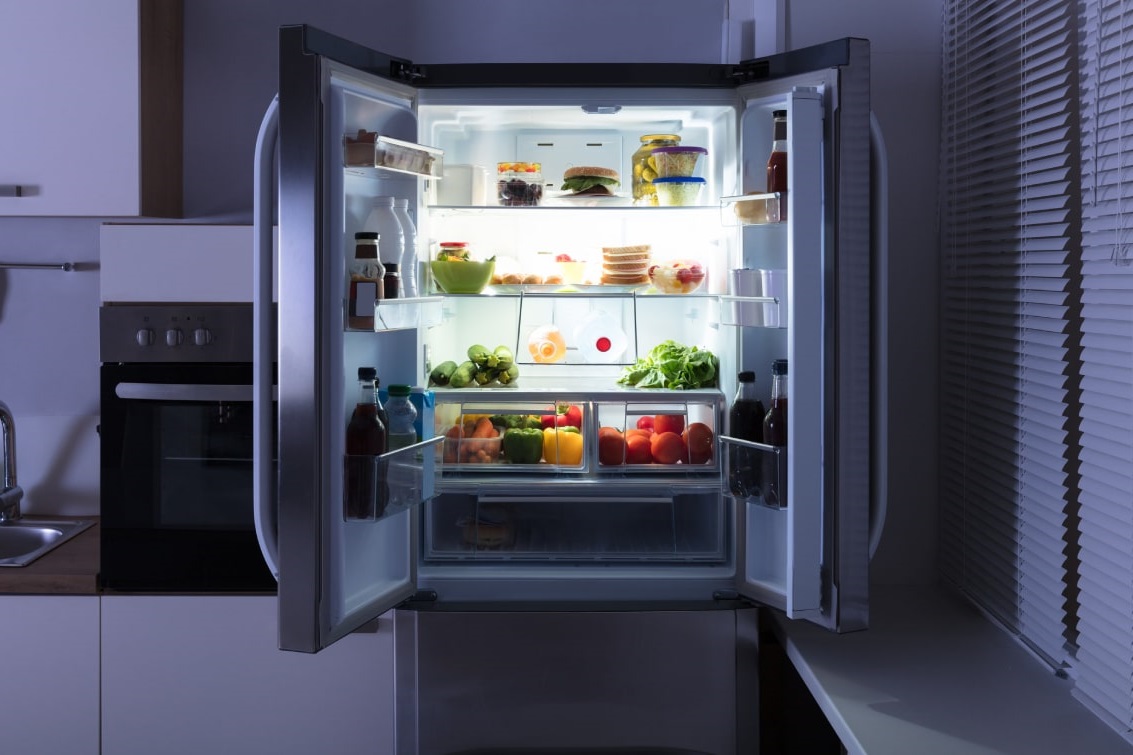
Most refrigerator odors have an identifiable source.
Food residue and moisture can create a strong smell when they remain inside an enclosed compartment.
Common causes include:
- Spoiled food: forgotten leftovers, dairy products, meat, fish, fruit, or vegetables.
- Leaking containers: liquids may run beneath shelves or drawers.
- Uncovered food: strong aromas can circulate throughout the compartment.
- Dirty door seals: food and moisture can collect inside gasket folds.
- Contaminated drawers: produce residue may remain in corners and seams.
- Drainage problems: residue may collect in an accessible drain or channel.
- A dirty drip pan: some models collect condensation beneath or behind the appliance.
- Restricted air movement: overpacking can block internal vents.
- A power interruption: food may spoil if the refrigerator becomes too warm.
Inspect the contents before adding baking soda, charcoal, or another absorber.
Removing spoiled food and cleaning a hidden spill will have more effect than covering the smell.
Prepare the Refrigerator for Cleaning
Read the Appliance Instructions
Cleaning methods differ between refrigerators.
Review the owner’s manual before removing panels, drain components, shelves, or drawers.
The manual may identify surfaces that should not be cleaned with abrasive products, acids, solvents, or concentrated disinfectants.
Follow those instructions first.
Remove and Inspect the Food
Take out enough food to inspect the entire compartment.
Check containers for leaks and examine items stored at the back of shelves and drawers.
- Discard clearly spoiled food.
- Do not taste questionable food to determine whether it is safe.
- Check dates and storage recommendations.
- Inspect the bottoms of jars and packages for residue.
- Keep perishable food safely chilled while cleaning.
Switch Off the Refrigerator When Appropriate
If cleaning will take a long time or requires access near electrical components, follow the manufacturer’s instructions for switching off or unplugging the appliance.
Do not pull the refrigerator away from the wall without considering its weight, flooring, water connection, power cable, and surrounding cabinets.
Ask for assistance when necessary.
Remove Shelves and Drawers
Remove compatible components according to the manual.
Support glass shelves with both hands.
Allow a cold glass shelf to warm gradually before washing it with warmer water.
A sudden temperature change can damage some glass components.
How to Remove Odor From a Refrigerator by Cleaning It
1. Remove Loose Food and Debris
Wipe away crumbs and dry residue before using water.
Inspect shelf supports, drawer rails, corners, and the inside of the door.
A handheld vacuum may be useful for dry crumbs if the appliance is switched off and the method is safe for the location.
Do not use it on wet spills.
2. Wash Removable Parts
Wash compatible shelves, drawers, and bins with mild dish soap and water.
Use a soft cloth or nonabrasive sponge.
Rinse away cleaning residue and let every component dry completely.
Do not reinstall wet drawers or shelves.
3. Clean Interior Surfaces
Use the cleaning method recommended by the refrigerator manufacturer.
For many interiors, mild dish soap and water or a mild baking-soda solution can be suitable.
Wipe the following areas:
- Interior walls
- The ceiling and floor of the compartment
- Shelf supports
- Drawer recesses
- The inside of the door
- Accessible corners and seams
Do not allow water to run into lights, electrical controls, sensors, fans, or air vents.
Apply the cleaning solution to the cloth rather than spraying it freely inside the appliance.
4. Soften Dried Spills
Place a damp cloth over dried residue for a short period.
This can soften the spill and reduce the need for forceful scrubbing.
Avoid metal scrapers, sharp tools, and abrasive pads.
They can damage liners, coatings, and plastic components.
5. Remove Cleaning Residue
Wipe cleaned surfaces with a separate damp cloth when required.
This prevents soap or baking-soda residue from remaining near stored food.
6. Dry the Refrigerator
Use a clean towel to dry the interior.
Leave the doors open briefly if the appliance instructions permit it and the food remains safely chilled elsewhere.
Return shelves and drawers only after they are dry.
Moisture left in seams and gasket folds can contribute to new odors.
Check Hidden Sources of Refrigerator Odor
If the main compartment looks clean but still smells, inspect the areas that are normally hidden.
Door Gaskets
Food and moisture can collect inside the folds of the rubber door gasket.
Clean it gently with a method approved by the manufacturer.
Dry the gasket and check for damage.
A loose, cracked, or deformed seal may prevent the door from closing correctly.
Underneath the Drawers
Remove produce and meat drawers.
Inspect the floor below them and the ends of the drawer tracks.
A small amount of meat liquid, milk, juice, or deteriorating produce can create a strong odor while remaining difficult to see.
Drain Opening or Channel
Some refrigerators have an accessible drain opening or drainage channel.
Consult the manual before cleaning it.
Do not push wire, knives, or other sharp objects into a drain.
They could damage internal components.
Drip or Condensate Pan
Some models have a pan beneath or behind the refrigerator.
Its location and accessibility vary.
Do not remove fixed covers or reach near electrical and mechanical parts without appropriate instructions.
Contact a qualified technician if the pan cannot be accessed safely.
Water Filter and Dispenser
If the odor or taste seems connected to drinking water or ice, check the filter replacement schedule.
Clean accessible dispenser components according to the manual.
Do not use cleaning chemicals inside water lines unless the manufacturer provides a specific procedure.
How to Remove Odor From a Freezer
Freezer odors may come from damaged packages, old ice, spilled liquids, or food affected by a power interruption.
Inspect each package and discard anything that is unsafe or badly contaminated.
Follow the appliance instructions before defrosting or switching off the freezer.
Keep frozen food in another freezer or a suitable insulated container.
Clean removable parts and interior surfaces using an approved method.
Dry the freezer before switching it on and returning food.
Do not use knives, screwdrivers, or other sharp tools to remove ice.
They can puncture or damage the appliance.
Refrigerator Odor Absorbers
Odor absorbers are most useful after spoiled food and contaminated residue have been removed.
They should not be used as a substitute for cleaning.
Baking Soda
An open container of baking soda may help absorb some remaining odors.
Place it where air can circulate around it.
Keep it stable and away from food that could spill into it.
Replace it according to the product directions or when it becomes wet or contaminated.
Activated Charcoal
Activated charcoal is another option for adsorbing odors.
Choose a product intended for household odor control.
Follow its instructions for placement and replacement.
Commercial Refrigerator Deodorizers
Commercial products may use charcoal, mineral materials, or replaceable filters.
Check that the product is intended for use inside a refrigerator and near stored food.
Coffee and Citrus
Coffee grounds, lemon, and citrus peel add their own aromas.
This is not the same as removing the source of a refrigerator odor.
Organic materials can also spoil or develop mold if left inside too long.
Cleaning and a true odor adsorbent are more dependable options.
Air Fresheners and Essential Oils
Do not spray conventional air fresheners, perfume, or essential oils inside the refrigerator.
Fragrances may transfer to food and can hide the original problem.
Only use a product if its label and the appliance manufacturer confirm that it is suitable for the intended food-storage area.
Protect Food While Cleaning
Perishable food must remain cold during a thorough refrigerator cleaning.
Use another working refrigerator or a suitable cooler with enough cold packs.
The
U.S. Food and Drug Administration
recommends keeping the refrigerator at or below 40°F, or 4°C.
It also advises against leaving food that requires refrigeration at room temperature for more than two hours.
The limit is one hour when the surrounding temperature exceeds 90°F, or 32°C.
Use an appliance thermometer to check the actual compartment temperature.
The control setting alone may not show the temperature accurately.
If you do not know how long perishable food has been too warm, follow local food-safety guidance.
When safety is uncertain, discarding the food is safer than relying on its smell or appearance.
How to Prevent Refrigerator Odors
Clean Spills Promptly
Wipe up fresh spills before they run beneath drawers or dry onto the interior.
Pay particular attention to liquid from raw meat, poultry, or seafood packaging.
Use Covered Containers
Store leftovers in closed containers or suitable food-storage bags.
Cover strong-smelling foods securely.
Organize Food by Use
Keep older food visible so it can be used first.
Avoid pushing small containers into corners where they are easily forgotten.
Check the Refrigerator Regularly
Inspect leftovers and produce before shopping.
A short weekly check can prevent forgotten food from becoming a major cleaning problem.
This task can be included in a
weekly cleaning schedule
alongside other kitchen maintenance.
Avoid Overfilling
Leave enough room for cold air to circulate.
Do not block internal vents with large packages.
Monitor the Temperature
Use a refrigerator thermometer and check it periodically.
Investigate unexpected temperature changes, excessive condensation, or food that spoils unusually quickly.
Check the Door Seal
Keep the gasket clean and make sure the door closes completely.
Arrange food so that containers do not prevent the door from shutting.
Maintain the Appliance
Follow the manufacturer’s schedule for filters, accessible coils, drainage components, and other maintenance.
Disconnect power before cleaning mechanical areas when the instructions require it.
What If the Refrigerator Still Smells?
Persistent Rotten-Food Odor
Recheck:
- The undersides of drawers and shelves
- Door gasket folds
- The drainage system
- The drip pan, if safely accessible
- Water-filter and ice-dispenser components
- Containers returned to the refrigerator
Odor After a Long Power Failure
Strong food odors can reach insulation and inaccessible cavities.
Repeated surface cleaning may not solve severe contamination.
Contact the manufacturer or a qualified appliance technician if the smell remains after all accessible areas have been cleaned.
In extreme cases, replacement may be more practical than further cleaning.
Musty or Mold-Like Smell
Inspect accessible seals, drains, pans, and areas affected by condensation.
Wear appropriate protection and avoid spreading visible contamination.
If the affected area is extensive or inaccessible, seek professional advice.
Do not dismantle insulated panels or sealed refrigeration components.
Burning or Electrical Smell
A burning-plastic, overheated-wiring, or unusual chemical smell is not a normal food odor.
Stop using the refrigerator when necessary and follow the manufacturer’s emergency instructions.
Disconnect power only when it is safe to do so.
Contact a qualified appliance technician rather than attempting to repair electrical or sealed refrigeration components yourself.
Gas-Like Smell
Do not assume that a gas-like smell comes from spoiled food.
Leave the area and follow the appropriate local emergency procedure if a fuel-gas leak may be present.
Common Refrigerator Cleaning Mistakes
Masking the Odor
Perfume, citrus, or coffee may temporarily replace one smell with another.
The contaminated material remains until it is removed.
Mixing Cleaning Products
Never mix household cleaning products.
In particular, bleach must not be combined with ammonia, acids, vinegar, or other cleaners.
Dangerous fumes can result.
Follow every product label and the refrigerator manufacturer’s instructions.
Ventilate the room appropriately while cleaning.
Using Abrasive Tools
Metal scrapers and harsh pads can damage the liner, shelves, coatings, and seals.
Soften residue before wiping it with a suitable nonabrasive tool.
Returning Wet Components
Moisture beneath shelves and inside seals can contribute to new smells.
Dry the compartment and removable parts completely.
Leaving Food Warm for Too Long
Plan where perishable food will be stored before beginning.
Do not let a long cleaning session create a food-safety problem.
Cleaning Only Visible Surfaces
Odor often remains beneath drawers, inside gasket folds, or in an accessible drainage area.
Inspect hidden locations before concluding that the appliance itself is defective.
Refrigerator Odor Removal Checklist
- Read the appliance cleaning instructions.
- Prepare safe cold storage for perishable food.
- Remove and inspect every food container.
- Discard spoiled or questionable items safely.
- Remove compatible shelves, drawers, and bins.
- Clean loose debris and visible spills.
- Wash approved interior surfaces and removable parts.
- Inspect door gaskets, drawer recesses, and accessible drains.
- Check the drip pan if the manual allows safe access.
- Wipe away cleaning residue.
- Dry every surface completely.
- Return only clean and safe food containers.
- Check the refrigerator temperature.
- Add baking soda or activated charcoal if a mild residual odor remains.
Adding this checklist to an
effective housekeeping routine
can help prevent hidden spills and expired food from building up.
Frequently Asked Questions
How do I get a rotten smell out of a refrigerator?
Remove spoiled food and inspect every container for leaks.
Clean the interior, drawers, shelves, gaskets, and accessible drainage areas.
Check the drip pan if the manufacturer allows safe access.
Use an odor absorber only after cleaning.
Can I clean a refrigerator with baking soda?
A mild baking-soda-and-water solution can be suitable for many refrigerator interiors.
Check the appliance manual first and avoid abrasive scrubbing.
Can I use vinegar inside a refrigerator?
Some people use diluted white vinegar for household cleaning.
However, appliance manufacturers may recommend different products for liners, coatings, metals, and gaskets.
Follow the refrigerator manual and never mix vinegar with bleach.
How long does refrigerator odor removal take?
A mild smell may disappear after the source is removed and the compartment is cleaned.
A severe odor that has reached hidden areas may require repeated inspection or professional service.
Why does my refrigerator smell when no food is spoiled?
The source may be a hidden spill, dirty gasket, drainage channel, drip pan, water filter, ice dispenser, or contaminated container.
Check each accessible area systematically.
Can I put air freshener in a refrigerator?
Conventional room fresheners are not intended to solve refrigerator contamination.
Remove the source and use only products confirmed as suitable for food-storage areas.
Does baking soda absorb every refrigerator odor?
No.
Baking soda may help with mild residual smells, but it cannot remove spoiled food, liquid trapped beneath a drawer, mold, or a mechanical problem.
Why does the odor return after cleaning?
The source may not have been fully removed.
Recheck containers, gasket folds, drains, the drip pan, and surfaces beneath drawers.
Also confirm that the refrigerator is maintaining a safe temperature.
Final Thoughts
The most reliable way to remove refrigerator odor is to identify and eliminate its source.
Spoiled food, hidden spills, dirty gaskets, and contaminated drawers are more common causes than problems that can be solved with a deodorizer alone.
Clean accessible surfaces carefully and protect perishable food throughout the process.
Afterward, regular temperature checks, covered containers, prompt spill removal, and a short weekly inspection can prevent most odors from returning.