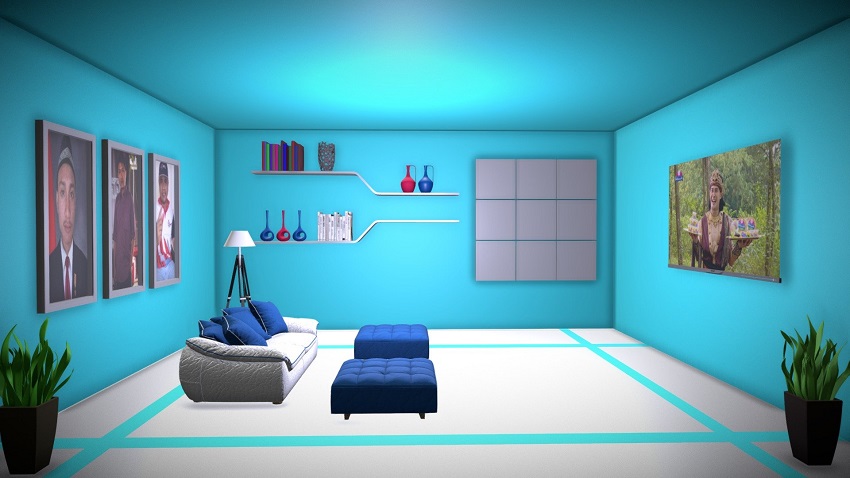
Interior Design 3D Modeling for Beginners: Step‑by‑Step Workflow & Essential Tools
It allows you to test layouts, furniture placement, materials, colors, lighting, and proportions in a digital environment, making it easier to compare ideas before you build, renovate, or decorate. For beginners, the process can seem technical at first, but the workflow is actually quite logical: measure the space, build the room, add furniture, apply materials, set up lighting, and render the final scene.
What Is Interior Design 3D Modeling?
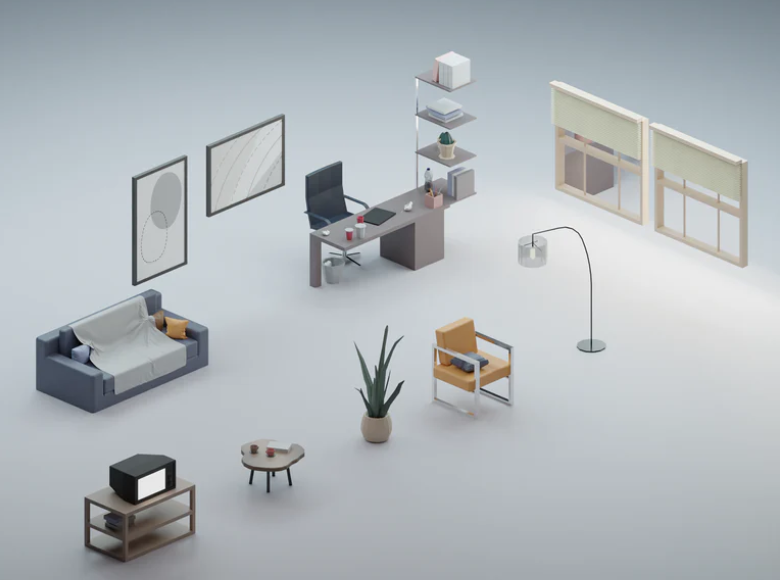
Interior design 3D modeling is the process of building a digital version of an interior space using three-dimensional geometry.
A typical model can include:
- walls
- floors
- ceilings
- doors and windows
- furniture
- lighting
- materials and textures
- decorative objects
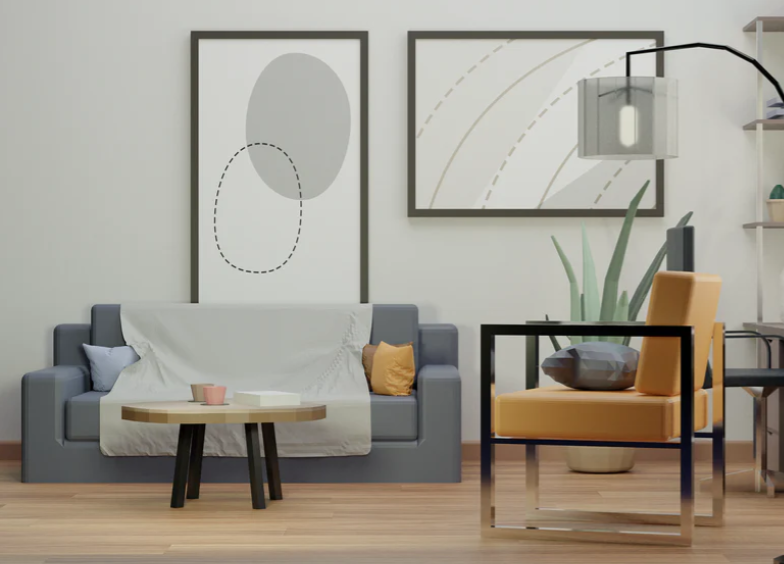
The result can range from a simple planning model used to test furniture placement to a detailed photorealistic render designed to look like a finished photograph.
Why 3D Modeling Is Useful in Interior Design
A 3D model can make interior planning easier because it allows you to see how different design decisions work together before committing to them.
It can help with:
- Layout planning: compare furniture positions and circulation paths.
- Scale and proportion: check whether furniture looks too large or too small for the room.
- Material comparison: test flooring, paint, wood, tile, fabric, and stone finishes.
- Lighting studies: compare natural and artificial light.
- Client communication: make design ideas easier to understand visually.
- Renovation planning: preview room changes before construction begins.
A 3D model does not replace accurate measurements or technical drawings, but it can help reveal obvious layout and design problems before they become expensive to fix. For a broader look at modeling, rendering, materials, lighting, and project preparation, see our 3D interior design guide.
Best 3D Interior Design Software for Beginners
The best software depends on whether you want fast room planning, detailed modeling, or photorealistic rendering.
SketchUp
SketchUp is popular because its basic modeling tools are relatively easy to understand.
It works well for:
- room layouts
- custom furniture
- architectural geometry
- quick concept models
Its large ecosystem of extensions and model libraries also makes it useful as your skills grow.
Blender
Blender is a free, open-source 3D application with powerful tools for modeling, materials, lighting, animation, and rendering.
It has a steeper learning curve than simple room planners, but it is one of the most capable free options for users who want to create detailed or photorealistic interiors.
Planner 5D
Planner 5D is designed for quick floor plans and interior visualization. Its drag-and-drop approach makes it accessible for users who do not want to learn traditional 3D modeling immediately.
Homestyler
Homestyler is another browser-based option aimed at interior layouts and visual presentation. It can be useful for testing room arrangements and furniture combinations quickly.
Revit
Revit is a BIM application used in professional architecture and construction workflows.
It is more complex than beginner-focused interior tools, but it becomes useful when accurate building information, documentation, and coordination matter.
3ds Max and Cinema 4D
These applications are commonly used for advanced 3D visualization and can produce highly detailed interior scenes when combined with suitable rendering tools.
For beginners, they are usually better considered after learning basic modeling, materials, cameras, and lighting.
Step-by-Step Workflow for Creating a 3D Interior Model
Step 1: Measure the Room
Start with accurate real-world dimensions.
Record:
- wall lengths
- ceiling height
- door sizes and positions
- window sizes and positions
- built-in features
- radiators or other fixed elements
Use one consistent measurement unit throughout the project.
Step 2: Build the Basic Room
Create the walls, floor, and ceiling before adding decorative details.
Keep the geometry simple and clean. Beginners often make modeling harder by adding unnecessary detail too early.
Step 3: Add Doors and Windows
Place openings using the real measurements you recorded.
Accurate windows matter not only for appearance but also for realistic daylight simulation later.
Step 4: Add the Main Furniture
Start with large items first:
- beds
- sofas
- tables
- wardrobes
- kitchen cabinets
This helps you test whether the room layout works before spending time on small decorative objects.
Step 5: Check Circulation
Before decorating the scene, look at the spaces between furniture.
Ask:
- Can doors open properly?
- Can people walk around the bed or sofa?
- Is there enough space to pull out chairs?
- Can drawers and cabinet doors open?
Step 6: Apply Materials and Textures
Apply materials to the major surfaces first:
- walls
- flooring
- cabinetry
- furniture
- worktops
For realistic rendering, use textures with appropriate scale and surface properties rather than simply applying a flat image.
Step 7: Set Up Lighting
Lighting has one of the biggest effects on how convincing a 3D interior looks.
Start with natural light from windows and then add artificial sources such as:
- ceiling lights
- pendant lights
- wall lamps
- table lamps
- floor lamps
Step 8: Position the Camera
Place the camera at a realistic height and avoid extremely wide fields of view unless they are necessary.
Very wide angles can make furniture and walls look distorted.
Step 9: Render a Test Image
Do a quick low-resolution test before launching a long final render.
Check:
- composition
- lighting balance
- material scale
- overexposed windows
- dark corners
- unrealistic reflections
Step 10: Make Final Adjustments
Refine materials, lighting, camera position, and details only after the basic scene works well.
Post-processing can be useful for exposure and color corrections, but it should not be used to hide major problems in the model or lighting.
Essential Tools and Resources
Texture Libraries
Texture libraries provide images and physically based material maps for surfaces such as wood, concrete, stone, fabric, plaster, and metal.
Popular resources include:
- ambientCG
- Poly Haven
- Textures.com
3D Model Libraries
Model libraries can save a large amount of time when you need furniture, appliances, lighting, or decorative objects.
Examples include:
- 3D Warehouse
- CGTrader
- TurboSquid
- BlenderKit
Check scale and model quality before placing downloaded objects into your scene. A poorly optimized model can make the project unnecessarily heavy.
HDRI Lighting
HDRI images can provide realistic environmental light and reflections.
They are useful for:
- natural daylight
- soft exterior reflections
- quick environment setup
Poly Haven is one source of HDRI environments.
Interior Design Styles to Practice in 3D
Practicing different styles is a useful way to learn materials, lighting, proportion, and composition.
Modern Minimalism
Minimalist interiors are useful for beginners because the geometry is often relatively simple.
Focus on:
- clean shapes
- neutral colors
- simple furniture
- controlled lighting
Scandinavian
Scandinavian interiors are good for practicing:
- light wood
- soft fabrics
- natural daylight
- warm neutral palettes
Industrial
Industrial scenes are useful for learning rougher materials such as:
- concrete
- brick
- metal
- dark wood
Japandi
Japandi combines restrained forms with natural textures and warm neutral colors. It is useful for practicing subtle material variation.
Contemporary Luxury
More luxurious scenes are useful when you are ready to practice:
- stone and marble
- metal accents
- glass
- complex lighting
- high-quality fabrics
3D Interior Scene Examples
Living Room
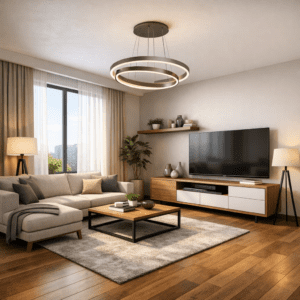
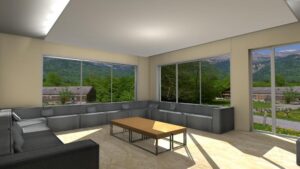
A beginner living-room scene can start with a sofa, coffee table, rug, TV unit, and one or two light sources.
Use this room to practice:
- furniture scale
- rug placement
- soft fabrics
- wood flooring
- natural window light
Kitchen
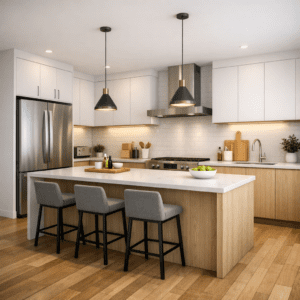
A kitchen is useful for learning precise dimensions because cabinets, worktops, appliances, and openings need to align properly.
Practice:
- cabinet modules
- countertop materials
- metal appliances
- backsplash textures
- under-cabinet lighting
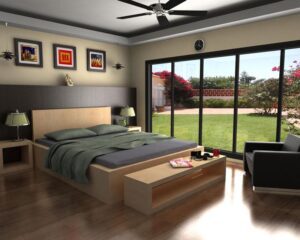
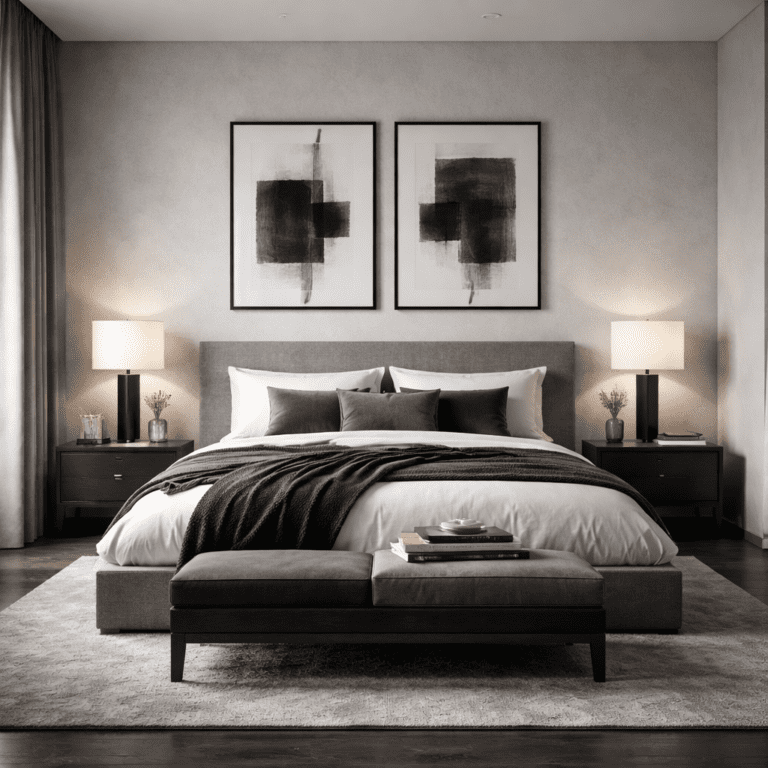
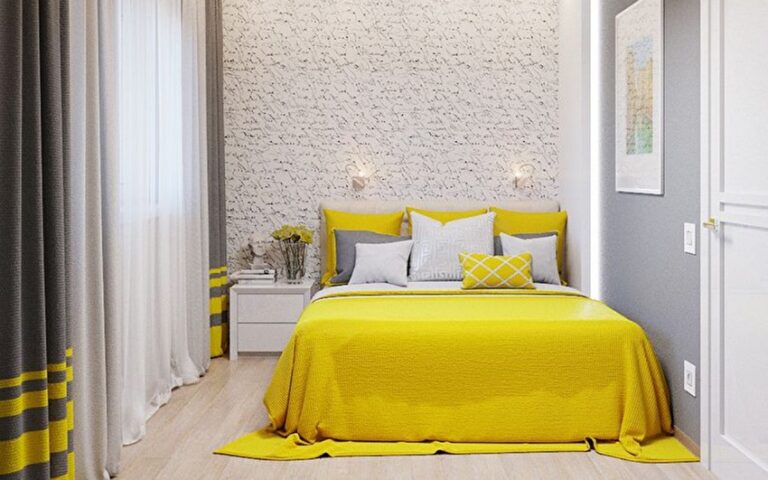
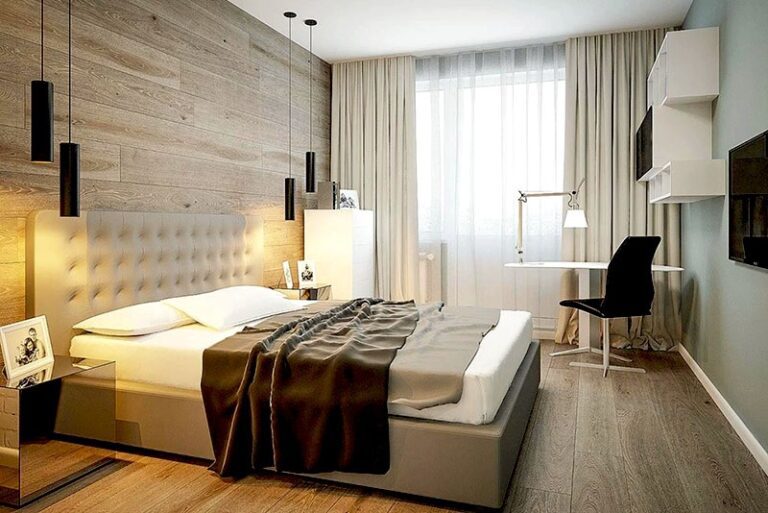
Bedroom
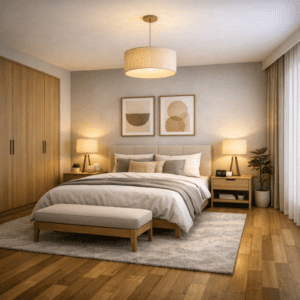
A bedroom is ideal for practicing soft materials and layered lighting.
Try modeling:
- a bed and headboard
- nightstands
- a wardrobe
- curtains
- bedding
- wall art
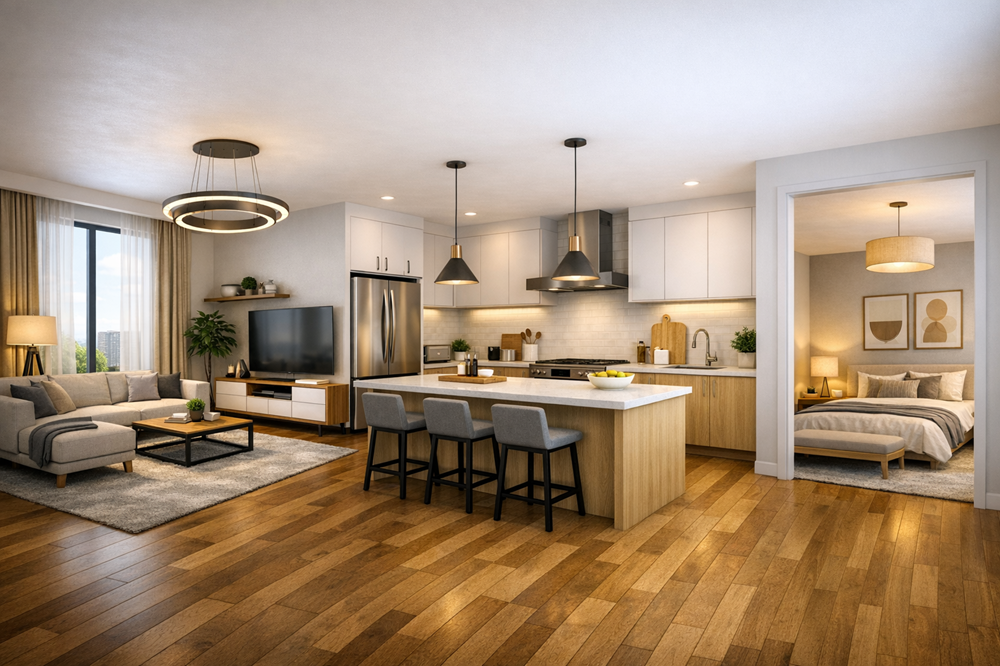
An open-plan scene is a useful next step because it forces you to balance several functional areas inside one composition.
Common Beginner 3D Modeling Mistakes
Using Incorrect Scale
Objects that are only slightly too large or too small can make an entire room feel unrealistic.
Always check dimensions rather than relying on visual judgment alone.
Adding Too Much Detail Too Early
Do not begin with plants, books, decorative objects, and small accessories before the room layout works.
Build the scene from large elements to small ones.
Using Low-Quality Textures
Poor or incorrectly scaled textures can make even good geometry look unrealistic.
Ignoring Material Properties
Realistic materials depend on more than color. Roughness, reflections, surface variation, and texture scale all affect the result.
Overloading the Scene
Large downloaded models and excessive geometry can make the project slow and difficult to render.
Use detail where the camera can actually see it.
Poor Lighting
Adding more lights does not automatically improve realism. Start with a clear lighting concept and add sources only when they have a purpose.
Using an Extreme Camera Angle
Very wide lenses can make rooms look larger but often distort furniture and walls.
Try to keep the camera position believable.
How to Make a 3D Interior Look More Photorealistic
Photorealism comes from many small details working together rather than one special render setting.
Use Realistic Materials
Use physically based materials when your software supports them.
Pay attention to:
- roughness
- reflection
- normal or bump detail
- texture scale
Add Small Imperfections
Perfectly clean, perfectly sharp surfaces often look artificial.
Subtle variation can help:
- slight fabric folds
- small surface roughness differences
- natural wood variation
- soft edge bevels
Do not exaggerate dirt or wear unless the design calls for it.
Use Realistic Lighting
Think about where light would come from in the real room.
Window light, ceiling fixtures, lamps, and reflections should work together logically.
Be Careful with Depth of Field
Depth of field can make a render feel more photographic, but excessive blur can make an interior difficult to read.
Use it subtly.
Improve Composition
Even a technically perfect render can look weak if the camera composition is poor.
Look for:
- clear focal points
- balanced framing
- natural camera height
- clean vertical lines
Frequently Asked Questions
Is interior design 3D modeling hard for beginners?
The basics can be learned gradually. Simple room planners are easier to start with, while applications such as Blender, Revit, or 3ds Max require more time and practice.
What is the easiest 3D interior design software to start with?
For quick room layouts, beginner-focused tools such as Planner 5D or Homestyler can be easier to learn. SketchUp is a good next step if you want more control over modeling.
Is Blender good for interior design?
Yes. Blender can create detailed interior models and high-quality renders, but its interface and workflow require more learning than simple room-planning applications.
Do I need a powerful computer for 3D interior design?
Not for every project. Simple models and browser-based planning tools can run on modest hardware. Large scenes, high-resolution textures, complex lighting, and photorealistic rendering require more processing power and memory.
Can 3D modeling help with a real renovation?
Yes. It can help you compare layouts, furniture placement, colors, materials, and lighting before making decisions.
However, a 3D visualization should not replace professional structural, electrical, plumbing, or construction drawings when those are required.
Should beginners create their own furniture models?
Not necessarily. Using good-quality library models can save time while you learn room modeling, materials, lighting, and composition.
Creating custom furniture becomes more useful when you need exact dimensions or a unique design.
Final Thoughts
Interior design 3D modeling becomes much easier when you follow a consistent workflow.
Start with accurate room dimensions, build simple geometry, place the main furniture, and check the layout before adding materials and decoration. Once the room works spatially, focus on lighting, camera position, materials, and rendering quality.
You do not need to master every 3D tool at once. Begin with one room and one software package, then gradually add more advanced skills such as custom modeling, physically based materials, HDRI lighting, and photorealistic rendering.
The most important beginner habit is simple: get the scale and layout right first. A technically sophisticated render cannot fix a room that was modeled with incorrect proportions.